Media Ingestion
smartElements has a dedicated ingestion matrix included that lets you set up your element ingestions to your needs. This page describes how to ingest sources into smartElements. Watch the following teaser video to find out more about the ingestion matrix.
How to launch the ingestion matrix
There are several ways how to launch the ingestion matrix.
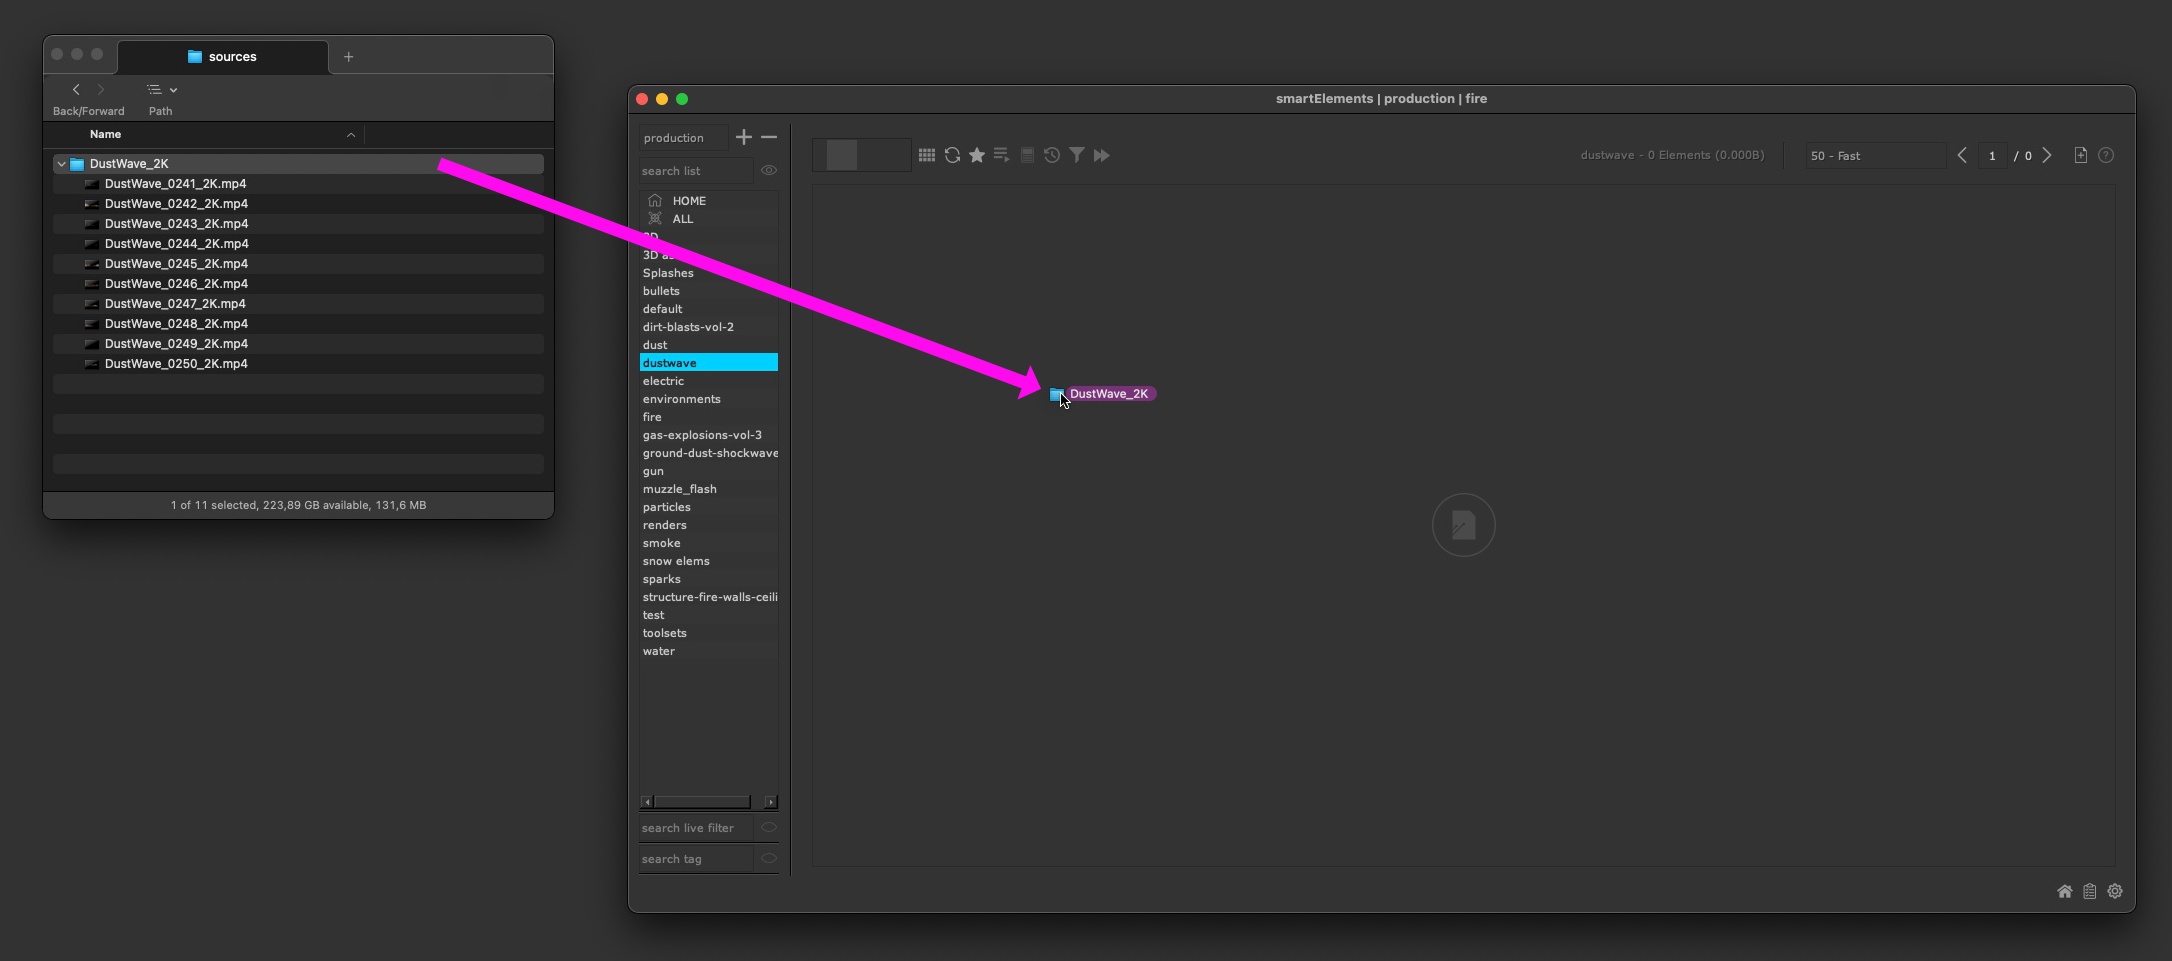
Simply drop files and folders into smartElements:
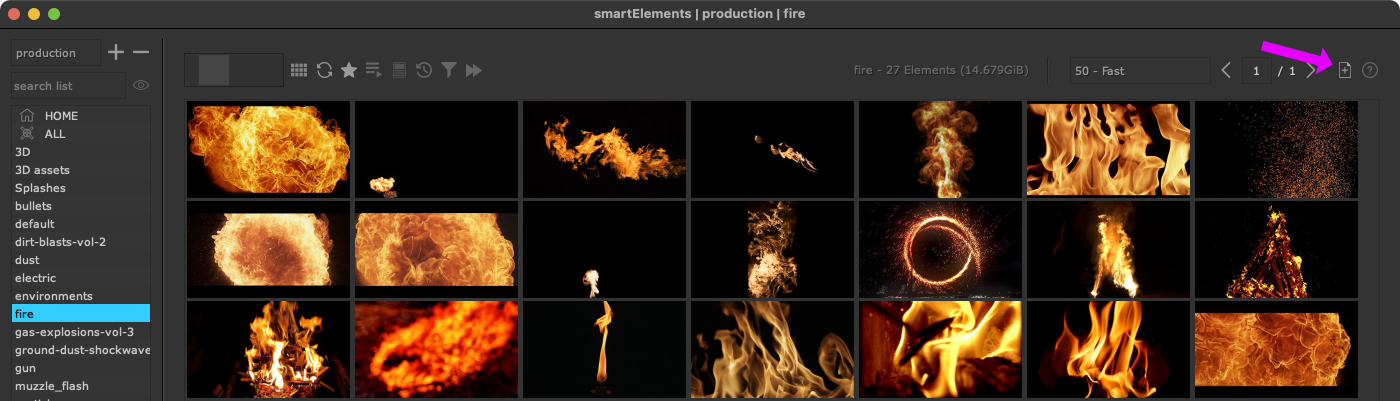
Click the ingestion matrix button at the top right inside smartElements:
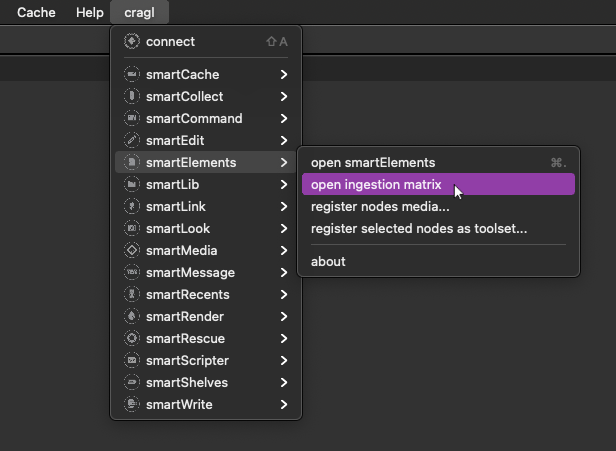
Launch the ingestion matrix via the menu bar:
The ingestion matrix window
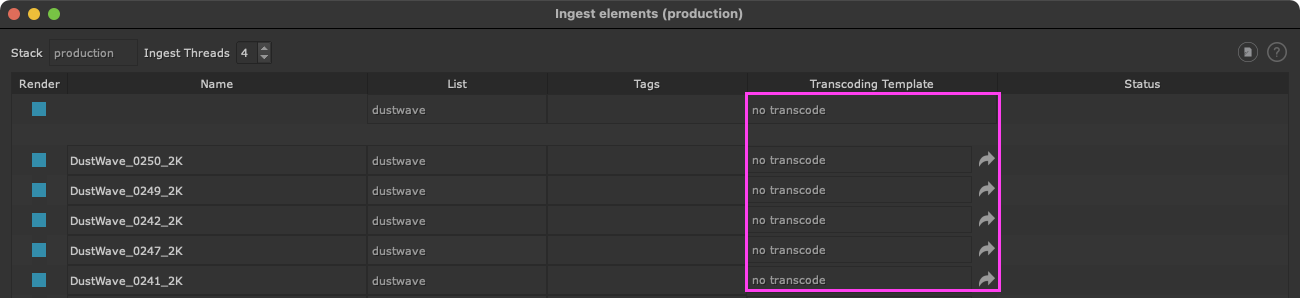
Once launched, this is how the ingestion matrix window looks like:

When having dropped sources, they will appear in the ingestion matrix. One row represents one source to ingest.
At the top you find the following widgets from left to right:

Stack: This dropdown lets you configure which stack to ingest all the sources to. Switching to a different stack loads all available lists of that stack to ingest to.
Ingest Threads: The number of ingest threads to use for parallel ingestion. E.g. setting this to 8 will ingest 8 elements in parallel. Setting this to an insanely high number might freeze your machine so keep the number at a reasonable amount of threads.
Launch smartElements: Click to launch the smartElements main window.
Documentation: Click to open the ingestion online documentation for smartElements. That is this page that you are currently reading.
Below these widgets you find a row that lets yoy batch edit all rows, i.e. changing the first row will drive all rows below. This is often times good for a start up default value. If needed you can then configure and override on a per row basis.

Each row contains the following columns:
1) Render: When checked then this element will be ingested. When unchecked then it will be skipped from the ingestion process.
2) Name: The name to use for that element. Note that editing to a different name still uses the old name, but just updates how it will be named in smartElements. This is by purpose so that you can track and refer back to the original file name.
3) List: The name of the list (category) to ingest the element to.
4) Tags: Enter any tags right away to the element. This steps can however also be done later at any time. Concatenate several tags by comma.
5) Transcoding template: The template to use for element transcoding. For more information please refer to the Transcoding Elements section.
6) Status: Once you ingest an element, a progress bar appears here to inform you about the current ingestion progress.
Transcoding templates
Each ingested media can be transcoded to your likings if needed. For that, set up the ‘Transcoding Template’ (5th) column to your needs - Either for all rows or for individual rows. If you want to use the original source as media then leave the dropdown menu to ‘no transcode’.
Next to each transcode template dropdown menu you find a ‘reveal’ button to reveal that template in your explorer. By default, smartElements comes with a few transcoding templates but you can create additional ones as needed. Please read on the next section ‘Creating your own templates’.
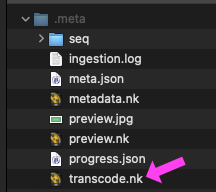
When ingesting, the chosen template will be taken as a start point and the
source and destination will be dynamically inserted and this will be saved as
‘transcode.nk’ into the element’s .meta folder that is located in the
element’s root directory. For any trouble shooting, launch this working file
as this is what Nuke renders.
Note
Depending on your pipeline and your color needs you will eventually need to adjust the nodes inside the template and more over the colorspaces. You will need to double check that on your own. If you have any question feel free to reach out, we are happy to assist you with that.
Creating your own templates
smartElements ships with a few transcoding templates but you can create your own ones and set them up to your needs. This gives you great flexibility as you can do pretty much anything you like.
smartElement’s internal transcoding templates live in the following location:
[PATH TO SMARTELEMENTS INSTALLATION]/cpXX/smartElements/templates
Where cpXX is the Python version your current Nuke version uses.
Although you could add additional templates to this folder and they will show
up in the transcoding templates dropdown menus, it is NOT recommended to
do this. The reason is that your custom templates will be removed as soon as
you update smartElements to a newer version. Instead, you can tell
smartElements about additional folders to look for transcoding templates
outside the smartElements installation folder using an environment variable.
To do that, create a directory anywhere on your local disk or on your server
and add as many template .nk files to this location as you like. Then, add the
absolute path of that directory to the environment variable
CRAGL_SMARTELEMENTS_TEMPLATE_PATH.
You can add multiple template root directories to that environment variable by concatenating them by a semicolon (Windows) / a colon (Linux, MacOS).
Each template must have at least the following minimal node setup:
1) A Read node called SOURCE. This is the Read node that references the source to ingest.
2) A Write node called TARGET. This is the Write node that does the ingestion work.
Between these two nodes do whatever you like. You can also consider using switch nodes using expressions, etc.