Quickstart
The following gets you familiar with smartElements and shows you its main features and how to use it. Further information can then be found in the upcoming docs pages.
Note
smartElements offers the functionality to store 2D and 3D assets and footage (i.e. image sequences and videos). In the following we will refer to all of these as ‘media’.
Working with the media browser
The media browser is where you ingest your media. This is also the place where you can bring these elements back into your node graph.
In order to launch the smartElements browser navigate to Nuke’s menu bar and choose cragl -> smartElements -> open smartElements
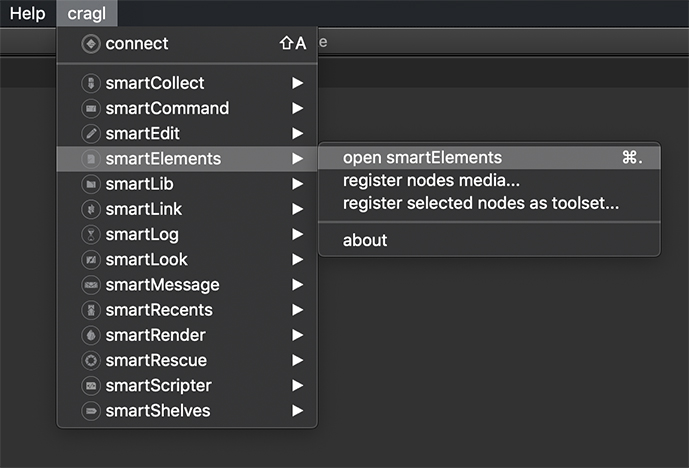
A quicker way is using the shortcut: Ctrl + . (Linux/Windows) or
Cmd + . (MacOS)
Ingesting media into smartElements
First we need to bring elements into smartElements so that we and the team can access them.
In order to ingest media, you can simply drop a folder that contains sequences
(or videos) or .nk files or 3D data (.abc, .obj, .fbx) into the
smartElements browser. smartElements will scan the dropped folder for media and
assets automatically and ingest these. You can also drag files directly into
smartElements. When dragging an image that is contained in a sequence then
smartElements will automatically detect the image sequence’s whole frame range.
When ingesting media, this will perform three things:
1. Copy the media to smartElements. By default, smartElements does a hard copy, meaning it will perform a physical copy. However, you can adjust that behavior and perform a soft copy so that when bringing in media from smartElements, this will reference the original media.
Create a thumbnail preview (only for footage media).
3. Extract some information and meta data about your media which gets available for you in smartElements.
You can write custom processors that perform additional steps before and/or after these three steps. How to do that gets described here.
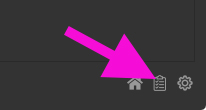
Let’s have a quick look at what went on under the hood when ingesting our media. For that, navigate to the history section by clicking the second button at the bottom left or simply hitting Ctrl + 2 (Linux/Windows) or Cmd + 2 (MacOSX).
Each ingestion gets logged. Find your media ingestion in the table, right click it and choose Reveal log from the context menu.
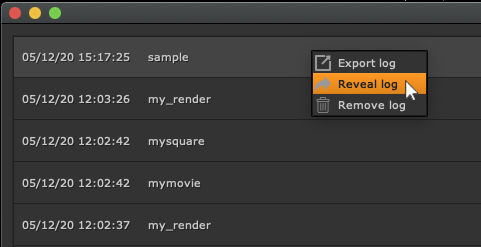
In case any ingestion results in unwanted results have a look at the logs as it contains valuable information under which settings setup the ingestion was performed and what went on under the hood.
Inserting media into DAG
In order to bring media from smartElements into your DAG simply select one or several elements from the smartElements library and drag them into your DAG.
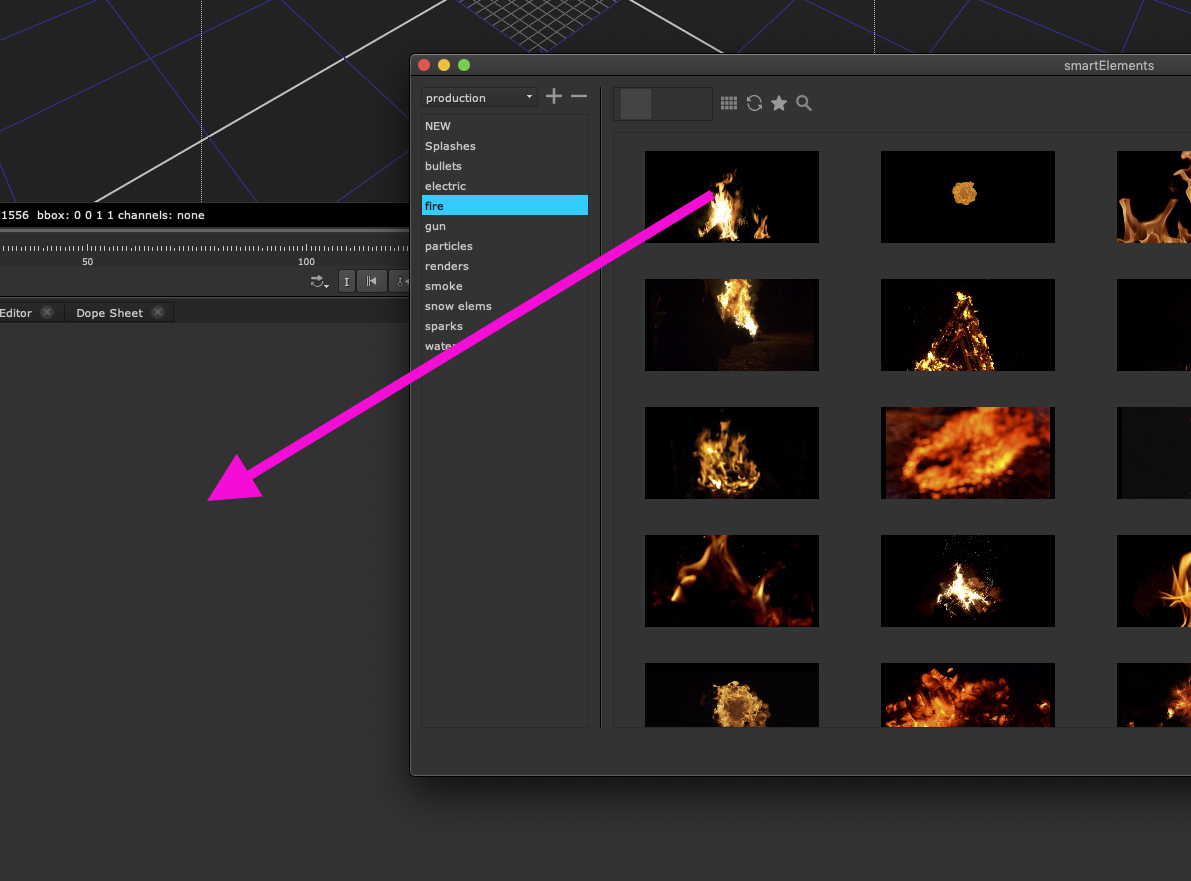
Alternatively, right click and choose Insert from the context menu:
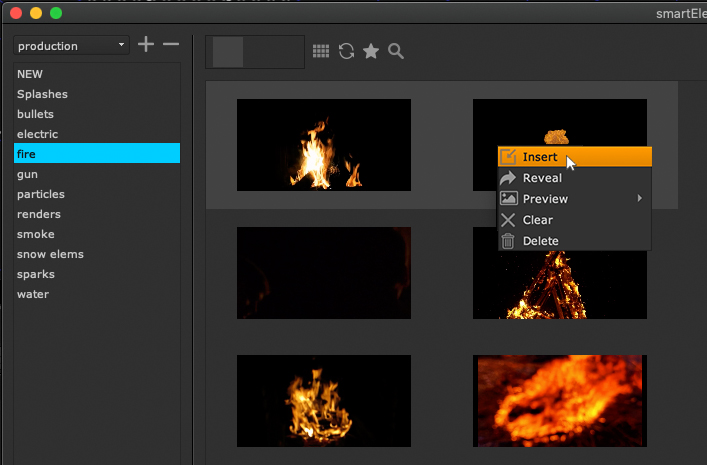
Both methods will insert the data for the selected media into your DAG. For footage, this will generate one or multiple Read nodes referencing the media. For 3D data this will create one or multiple ReadGeo nodes referencing the media. And for toolsets this will paste the nodes into your DAG.
Media info
You can view a larger preview and all information about a media. Simply hover over a media in the library and hold the Alt key. The media preview panel will pop up as seen below.
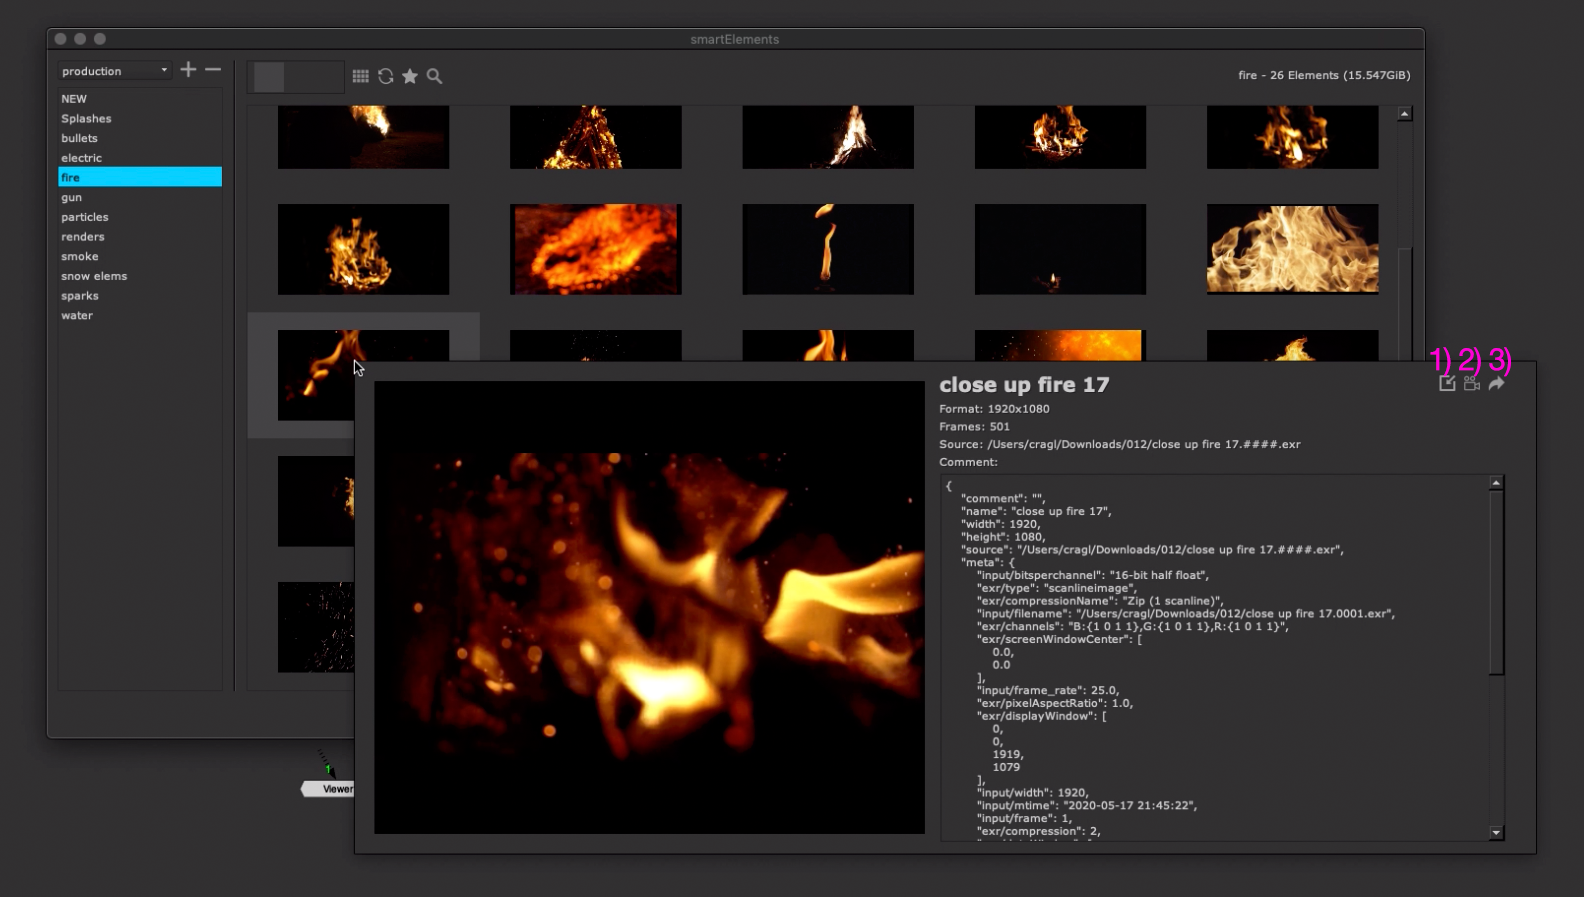
The media preview panel contains three buttons at the top right:
1) Insert: Click to insert the media into your DAG.
2) Video toggle: Click to show/hide the video preview.
3) Reveal: Click to reveal the media.
Note
In Nuke-12 and above you can simply over over a media and press the Alt key to launch the media info. In Nuke versions below 12 you need to click the media additionally once before hitting your Alt key to launch the media info.
List view/ Thumbnail view
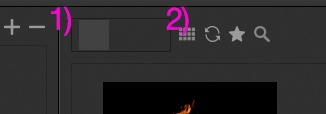
Use the slider (1) at the top center to increase and decrease the elements sizes. Use the viewing toggle (2) to switch between a thumbnail view and a list view. The thumbnail view shows you only the media preview image and reduces any distraction while the list view contains more useful information about the name, format, frames, type, size and comment for each media and lets you save favorites.
Filtering media / favorites
Click the search button above the media library to show the search widgets.
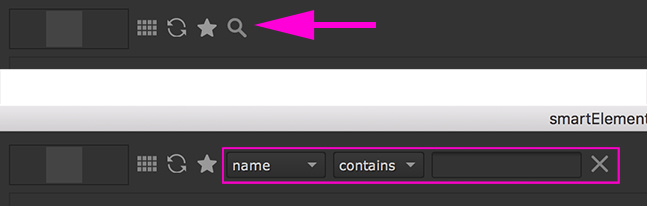
Here you can define which media to view. In the first drop down menu you have
the choice to filter by name, format, frames, type and
comment. In the second drop down you can define to use a loose or a strict
match. In the text field right next to it you can define the search term. Only
media that matches your filtering (loose or strict) will be shown in the
library.
Click the star button to toggle showing only favorite media or all media. You can favorite media in the list view. The favorites are stored locally on your computer so setting favorites gets done on a per user level.
Auto registering renderings
You can set to automatically register all renderings to smartElements once they finish up rendering. By default, this does not apply but you can change this behavior in the settings. This enables you and your team to have all renderings and the current progress of your project at one hand.
The registering of renderings is by default turned off. This behavior gets controlled by the Enable widget in the Register renderings for output nodes section in smartElement’s settings pane. The settings pane can be accessed by clicking the third button at the bottom right of the smartElements browser or by simply hitting Ctrl + 3 (Linux/Windows) or Cmd + 3 (MacOSX).
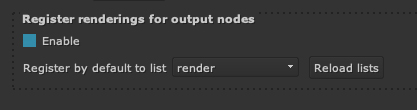
Here you can also set the list that gets selected by default when creating a new Write node. This will be the list to which a rendering will be registered when the rendering is finished.
When this feature is enabled, a Write node gains an extra smartElements tab:
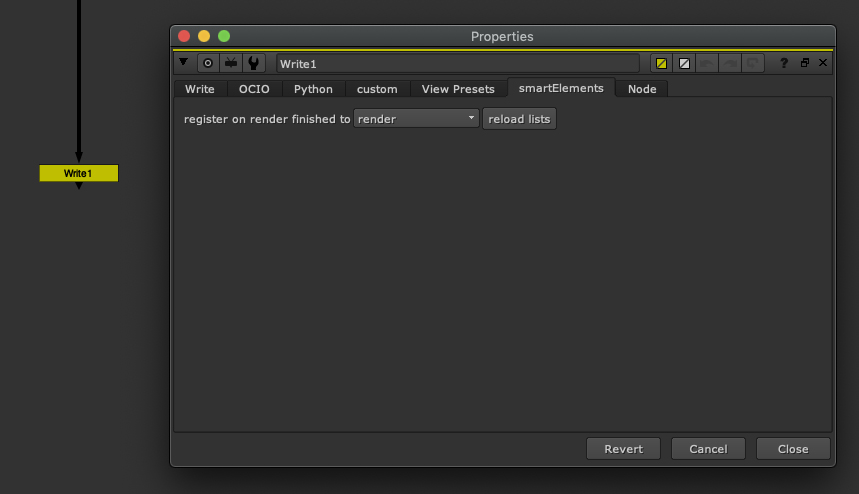
Here you can adjust the list to register the rendering to once the Write node finishes rendering. Click the reload button to reload the lists drop down menu’s entries in case your lists need an update.
Registering nodes media
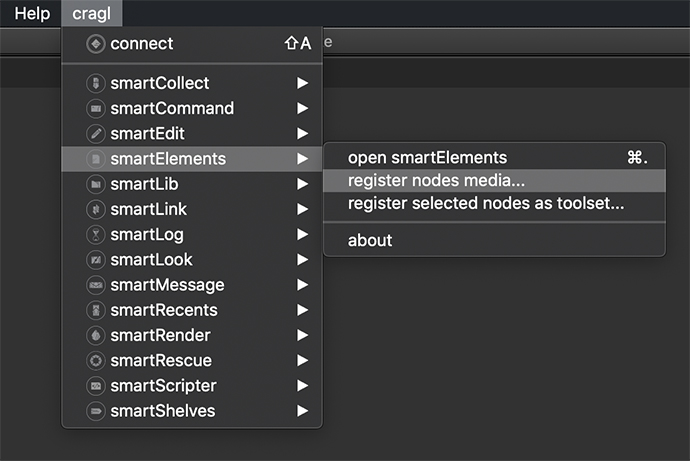
Besides auto registering renderings once they are finished, you can also simply register any selected node’s media at any time. This will then create a new media for the node that the selected node references. Simply select one or multiple nodes and choose from your menu bar: cragl -> smartElements -> register nodes media
In the upcoming dialog choose the list to register the media to and click the Register button. The media that gets referenced in your node(s) gets ingested to smartElements.
Creating toolsets from selected nodes
As seen above, we can drop a .nk into smartElements in order to bring it
into smartElements. However, we can register a toolset from a node selection
directly inside of Nuke. To do so, select some nodes and choose the following
command from the menu bar:

A window will show up in which you enter additional information for the toolset that you would like to register to smartElements:
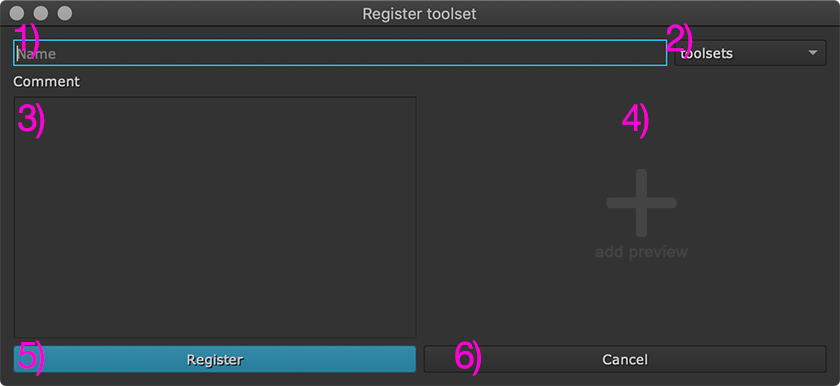
The window contains the following widgets:
1) Name: Enter a name for the toolset. Entering a name is mandatory.
2) List: Choose to which list you would like to add the toolset to. Choosing a toolset is mandatory.
3) Comment: Enter an optional comment that will be stored along side of the toolset. The comment can be altered afterwards at any time if needed.
4) Preview: Click to browse to a preview file to show for the media. This is optional. You can also do that after the media has been ingested and alter the preview at any time if needed.
You can select a .mov file which will be copied over as a preview immediately. Alternatively, you can choose a still image. In that case you can use any image format that Nuke can read. smartElements will then transcode the image into the needed format.
5) Register: Click to register the toolset under the chosen list with the chosen name.
6) Cancel: Click to abort the registration of the toolset.
Setting and unsetting previews
smartElements creates automatic previews for all footage media (i.e. image sequences and videos). You can create custom previews for media. This is useful to overwrite previews for footage media if needed and to create previews for 2D and 3D assets.
In order to create a custom preview right click a media in the media library
and choose Preview -> set from the context menu.

In order to remove a preview and use the default image select a media and
choose Preview -> unset from the context menu.