The Archive List
The Archive List on the right hand side of the smartCollector window includes all Nukescripts to archive.
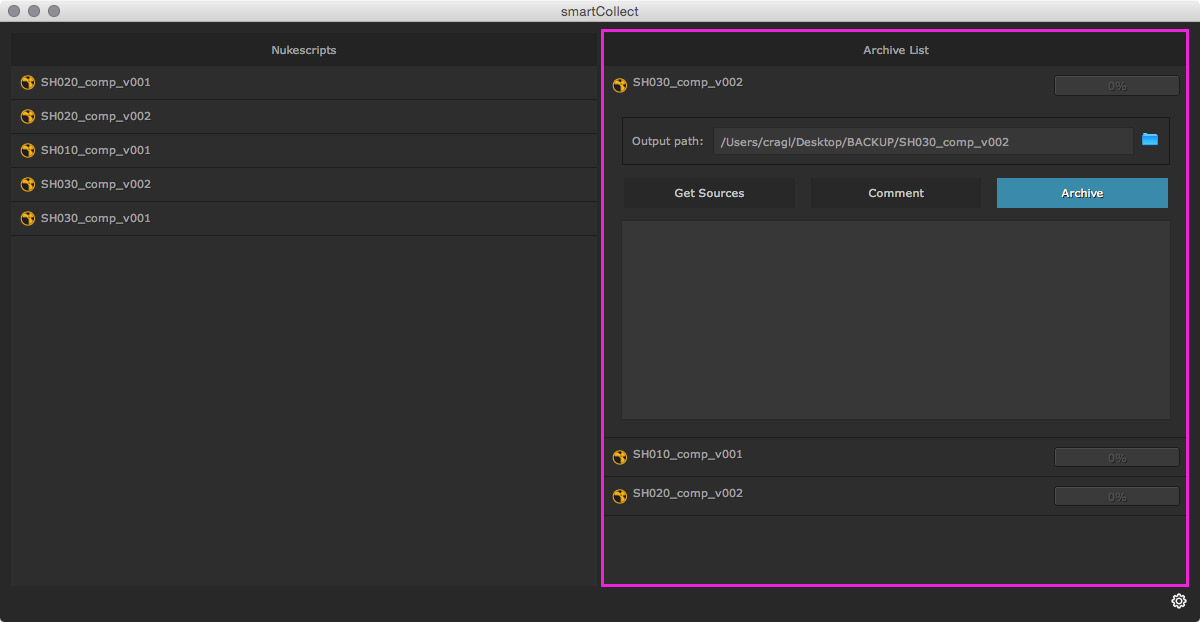
To add a Nukescript to the Archive list drag and drop it from the Nukescripts list or right click one element and choose Add to Archive List.
Right click menu
Right clicking the Archive List in an empty space shows the context menu as seen below.
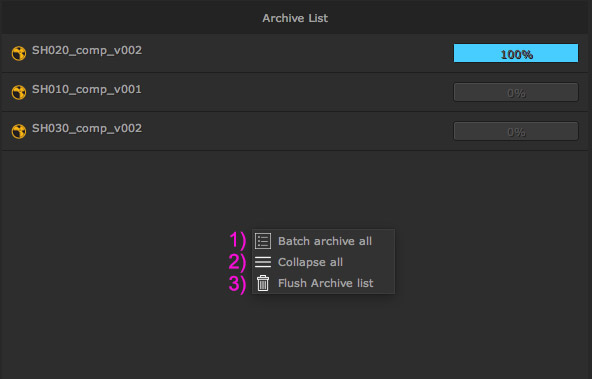
The context menu contains the following commands:
Archive Element
The Nukescripts in the Archive List are called Archive Element. Double clicking one of the Nukescripts in the archive list will show/ hide its details.

The Archive Element contains several elements:
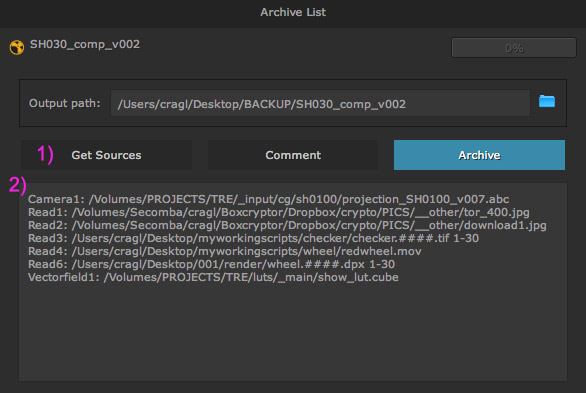
Get Sources
Each Archive element includes a Get Sources button that lets will display the Nukescript’s sources. Using that button we can get a sense of the size of number of use sources prior to archiving.
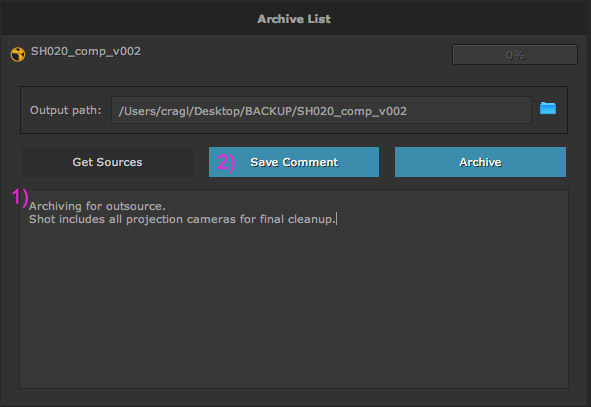
Let’s click the Get Sources Button (1). The textarea below will show all used sources of the Nukescript (2).
Comment
smartCollect lets us append a personal comment for the archive if required. The comment will be included in the archive’s output report once the archive is finished.
Let’s click the Comment button.
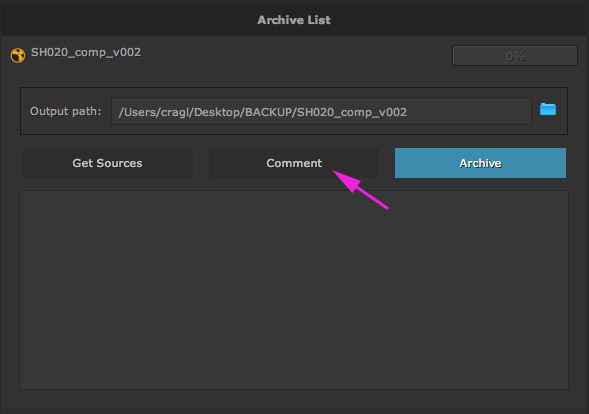
The comment button tints blue and the textarea below becomes editable. Let’s append our comment (1). When we are finished writing our comment we can press the blue Save Comment button (2).
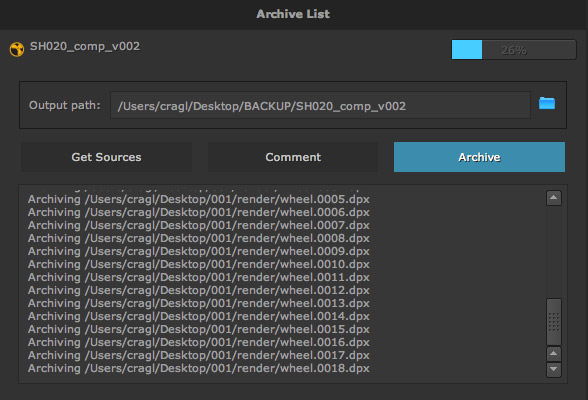
Archive
When we are ready to archive our Nukescript let’s hit the Archive Button. smartCollect will archive the Nukescript to the set path. The progress displays the archiving progress. The textarea and the statusbar at the bottom display the archived sources.
Once the rendering is finished we will get the following archive output:
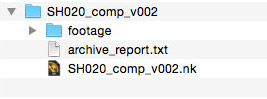
Our archive contains the following elements:
- The footage directory that includes all archived sources.
- An archive report which includes information about the archive settings and the archived sources.
- A copy of our shot.
Please note that the settings section lets you further define the archive output and change the way the Nukescripts get archived.
Right click menu
Right clicking the archive element will show the archive element’s context menu as seen below.
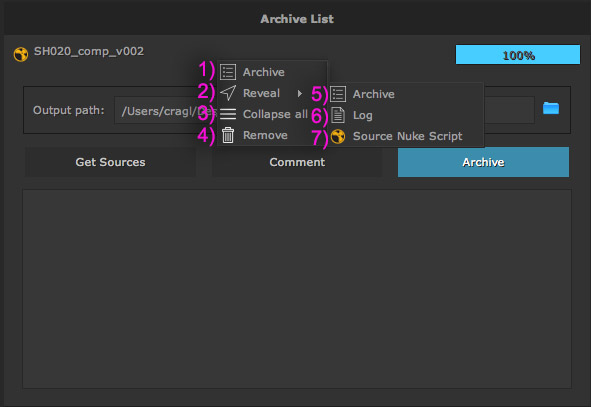
The context menu contains the following commands: