updates.rst.. _tips:
Tips
The following section shows a few tips and tricks that are useful knowing when working with smartRescue.
Installing PySide
smartRescue offers a graphical user interface (GUI) that has been created using
PySide / PySide2. That means, you will need PySide or PySide2 installed on your
system and you will need to have it in your PYTHONPATH in order to use
smartRescue. To ensure that PySide or PySide2 is installed correctly on your
system, open a terminal and launch a python session by typing in python and
hitting enter. Once you are in your python session, type in the following and
hit enter:
import PySide
If an error shows up, then see if PySide2 is installed on your system:
import PySide2
If one of these imports succeed you are good to go as. If both error our, you will need to install PySide or PySide2 on your system. Please have a look at the official documentation about installing PySide, which can be found here: Installing PySide.
If you are familiar with pip and have the pip package manager installed then you should be able to install it by simply executing in your terminal:
pip install PySide
or:
pip install PySide2
Auto Process Path
It is sometimes easier to have a standard location that you will always
use as ‘files to operate on’. For that, you can create a folder anywhere
on your system and either always drag it into the smartRescue default pane
or set this location as your default start up location. For that, you can
set the following environment variable: CRAGL_SMARTRESCUE_PROCESS_PATH.
As an example, create a folder in the following location:
~/desktop/rescue
The ~ (tilde) character is a special character that tells our machine
to look in the currently logged in user home directory. So the following path
point to a folder called ‘rescue’ that is located on our ‘desktop’.
Now you can set up the following environment variable to point to this location:
linux/ mac: export CRAGL_SMARTRESCUE_PROCESS_PATH=~/desktop/rescue
windows: set CRAGL_SMARTRESCUE_PROCESS_PATH=~/desktop/rescue.
Now, every time you launch smartRescue, you don’t need to browser to a rescue folder manually. It will already be set up.
Creating an alias
You don’t need to always navigate inside the executables directory. You can create an alias that points to the executable of your operating system and launch smartRescue directly from your terminal. The following tutorial illustrates how to create an alias for all three operating systems:
Ignore certain files in process folder
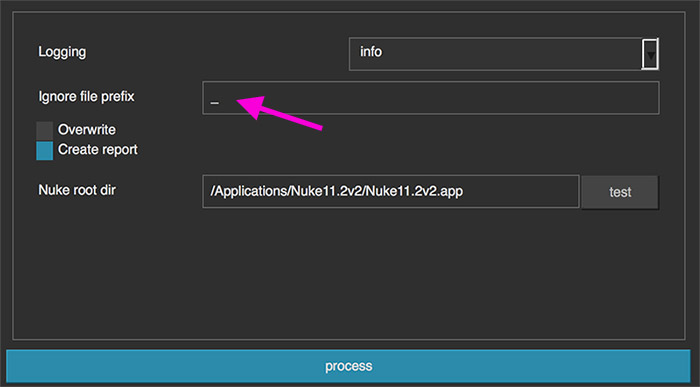
You can set up to ignore certain files .nk files in a process folder. By default, this is already set up to ignore all files that start with an underscore. In the smartRescue main window’s settings section you can set up the files to ignore in the ignore file prefix section.
Advanced mode
Each step has an advanced mode. In fact, as long as the widgets section for a step hasn’t been defined in the config.json file, only the advanced mode is available for a step. No matter if widgets are configured for a step or not, you can always switch to the advanced mode using the mode toggle as seen below.
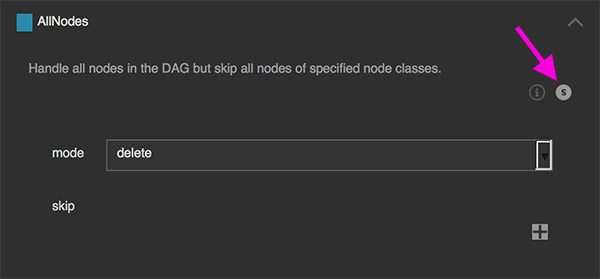
When having clicked the toggle, the step changes to advanced mode. In here you won’t have access to any more custom widgets but can enter the setup to use directly into the text area. The setup uses a standard JSON format. Each steps contains a description and multiple setup examples to show you possible configurations and their outcome.
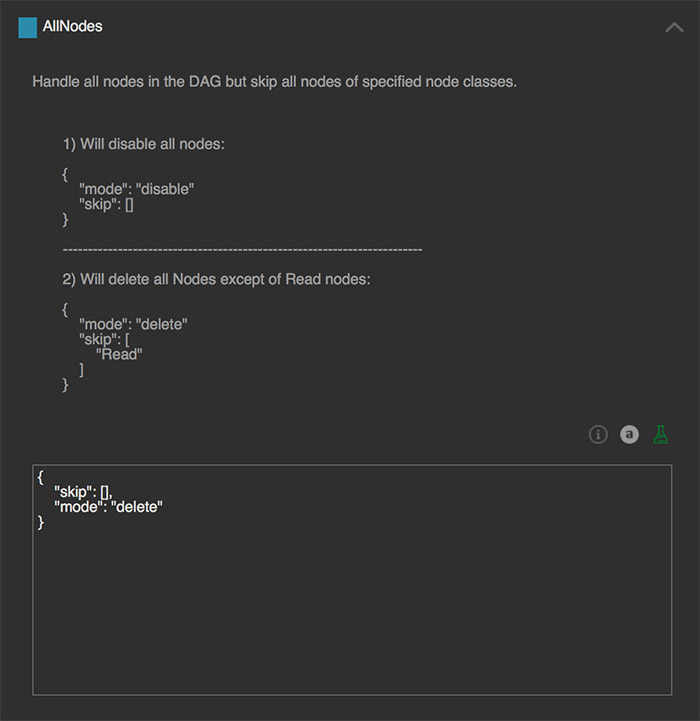
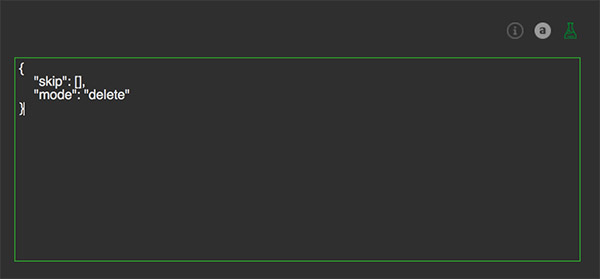
When updating the setup in the advanced mode, the configuration text area gives you a live feedback for valid configuration inputs. As long as your configuration is in a valid JSON format, the text area’s border will be tinted green:
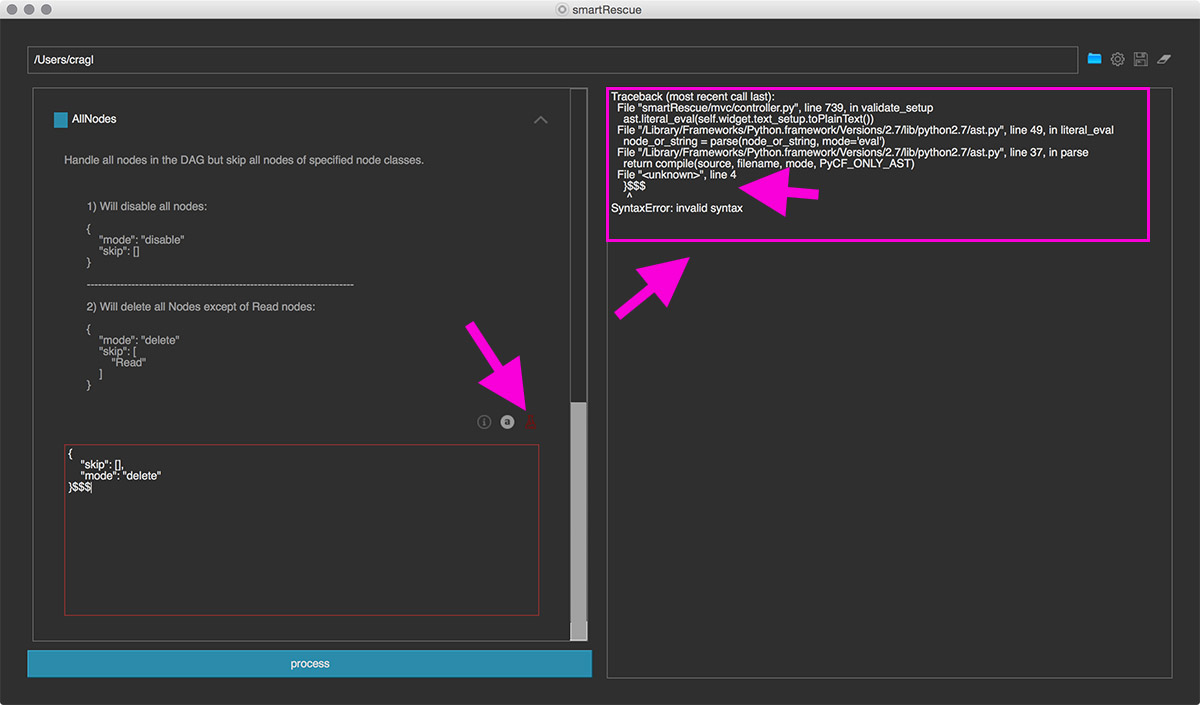
As soon as you have an invalid JSON format, the border will be tinted to red.
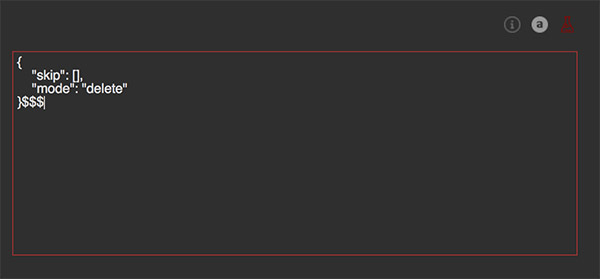
Clicking the small test button gives you hints about where exactly you have some invalid syntax.