smartLinker main window
The smartlinker window is the main control point in smartLink. It provides functionality to browse and create links, jump to these links and their source node inside the node graph and edit the smartLink settings.
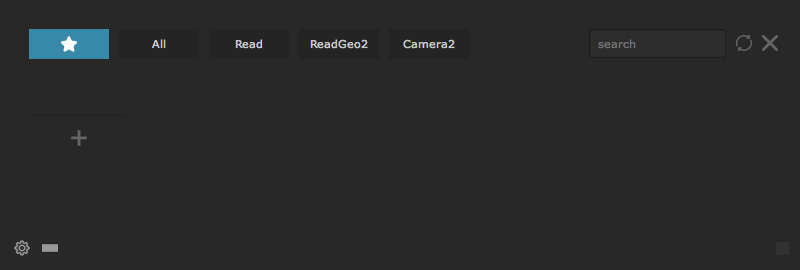
When opening the smartLinker in a new Nuke script that doesn’t contain any nodes, it will look like the following:
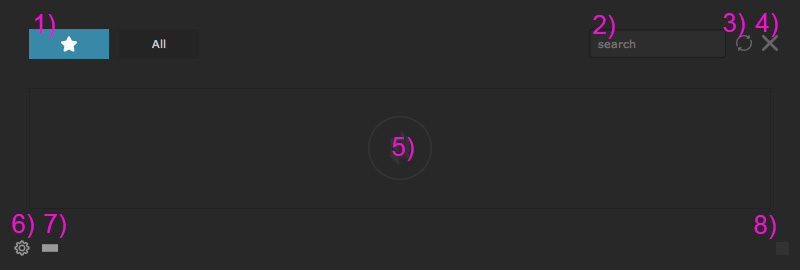
The smartlinker contains multiple elements:
- 1) Classes: Click for filtering by class, showing all classes or the favorites. Right click one of these buttons to edit the classes list.
- 2) Search: Type in the first characters to search for a specific node. This will consider node names, the file names (if available) and the label values (if available).
- 3) Reload: Click to reload the Links table.
- 4) Close: Click to close the smartLinker.
- 5) Node table: Contains all nodes of the currently selected class.
- 6) Settings: Click to open the settings.
- 7) Layout: Click to toggle between horizontal- and vertical layout.
- 8) Resize: Adjust the size of the smartLinker. The size will be remembered.
All of those elements will be discussed in more detail in the following sections.
Working with the smartLinker
Let’s open a Nukescript that contains some nodes to learn how the smartLinker works. Our example Nuke script contains three read nodes, a few Camera nodes, a few ReadGeo nodes and multiple other nodes.
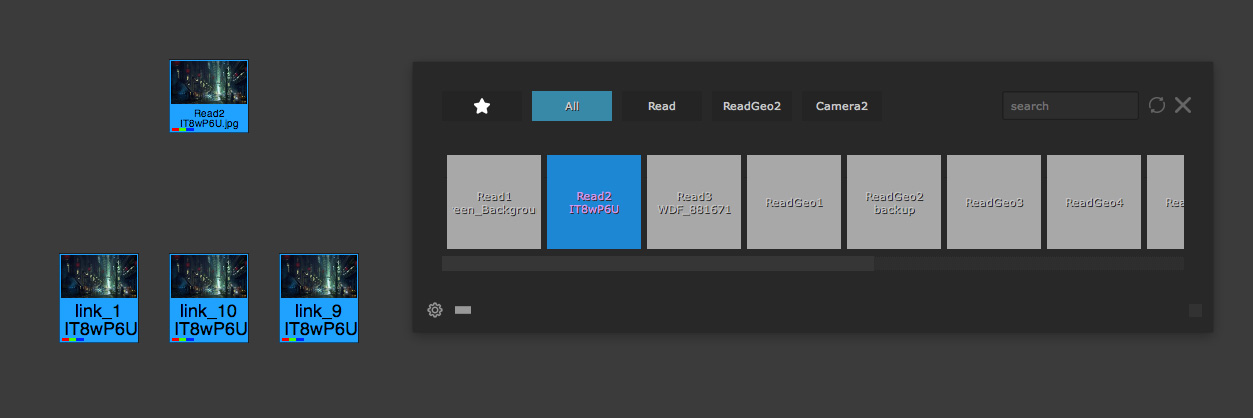
The smartLinker will then look something like this:
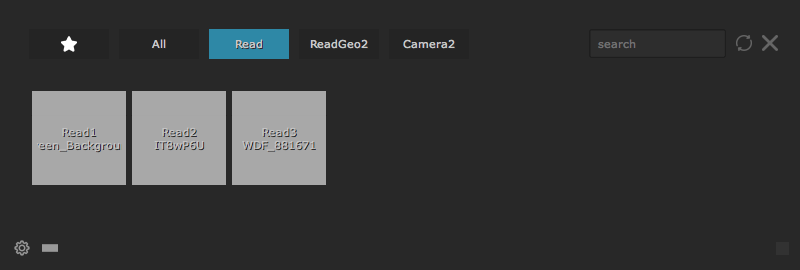
As we have set the current class to Read, it will collect all Read nodes in our nodegraph and display them in the middle of the smartLinker window.
Filtering classes
By clicking one of the class buttons at the top of the smartLinker window, we can switch between classes and solo the nodes of the selected class.
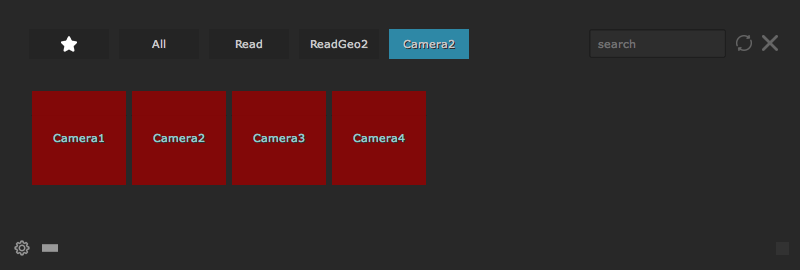
For instance, let’s click the Camera2 button to show only Camera nodes that are in our node graph:
When clicking the All Button, all nodes of all three classes will be listed:

If you click the star icon, then smartLink will show the favorites. For more information about favorites, please have a look at the Favorites section.
The currently selected class gets remembered, even after closing smartLink, quitting Nuke and restarting your machine.
Inserting links
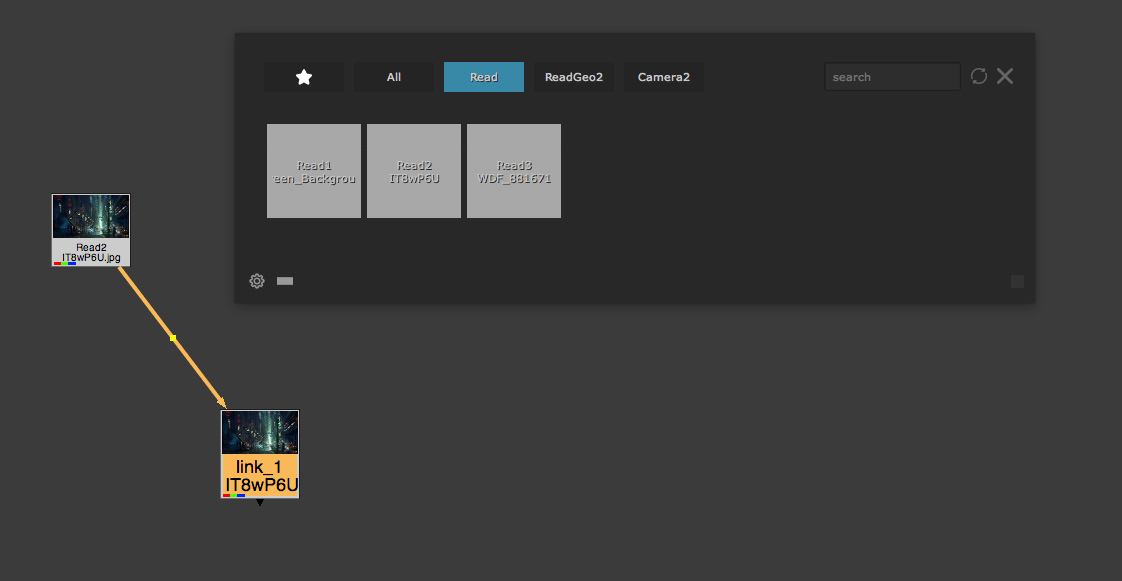
To insert a link into your node graph, simply select the node from smartLink and drag it into your node graph:
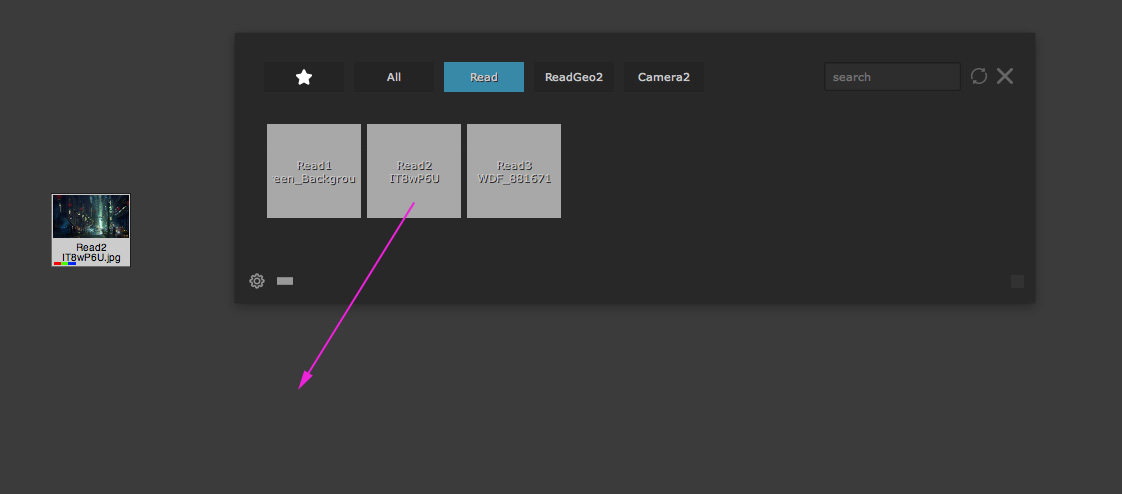
The link will be created in the location where you dropped the link:
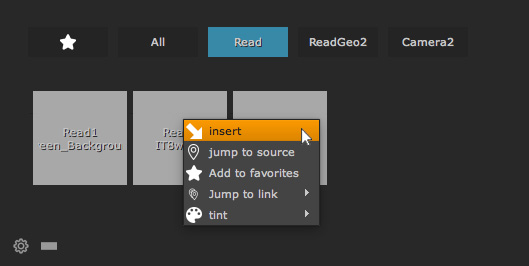
Alternatively, you can right click any link and choose Insert from the context menu.
Editing classes
By default, smartLink shows only Read, ReadGeo and Camera nodes. Keep in mind, that it will also just display these class buttons if at least on node of these classes is included in your nodegraph.
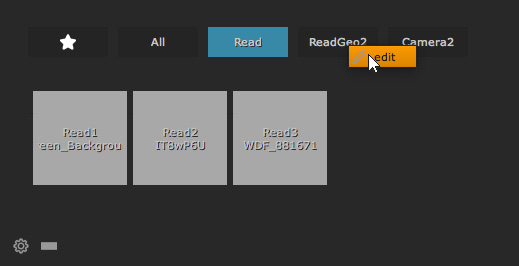
You can however change this list to your needs and update the order being show on the fly. To do so, simply click one of the class buttons and choose “edit” from the context menu:
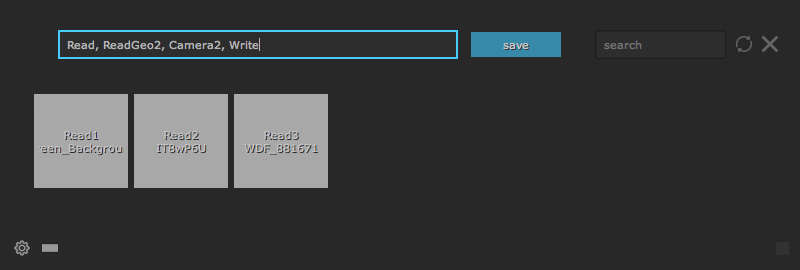
An input field shows up in which you can add new node classes and update the classes order. Separate the node classes by a comma.
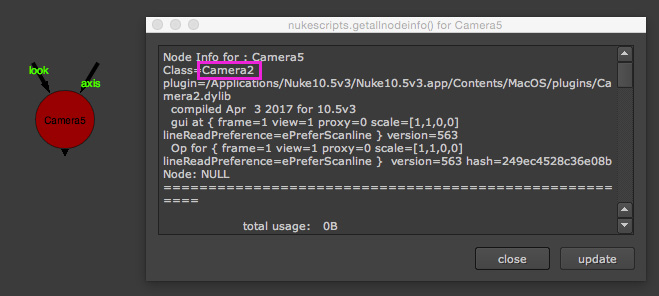
Attention: Please keep in mind to use the Nuke internal node classes in here, meaning e.g. Camera2 and not Camera and Merge2 and not Merge. In order to get the node class of any node simply create the node in the node graph and press the I key. The upcoming info window shows the actual node class as seen below:
Favorites
The favorites tab (star icon) shows you all favorites of your current Nukescript. This feature lets you quickly navigate between your favorite nodes and create links for them. Think of this as a bookmark system for all your nodes that you would like to access quickly. Your favorites will be stored directly inside your Nuke script. That means you can version up your Nuke script or save it to a different location with a different name and remain all your favorites.
In case you don’t see the favorites tab, switch to the settings section and make sure that the checkbox Enable favorites is activated.
Adding Favorites
You can add any node of your nodegraph to the favorites list. Let’s click the star icon to navigate to the favorites tab:
To add the selected node(s) to the favorites list you have mutliple options:
- Press Alt+L. This shortcut can be modified in the Shortcut Editor.
- Navigate to you menubar and execute the command Cragl -> smartLink -> Add selection to favorites.
- Click the + button in the favorites table.
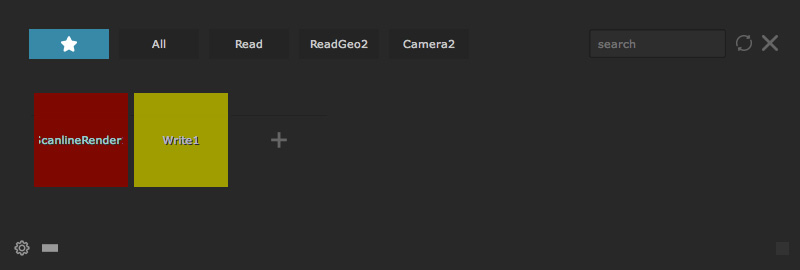
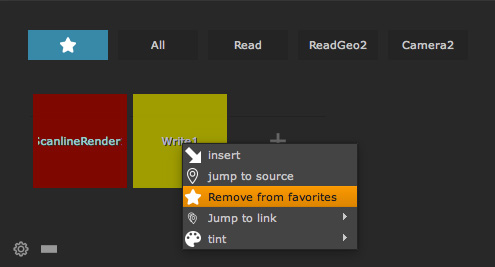
The selected nodes (in this case we selected a ScanlineRender node and a Write node) will be added to our favorites.
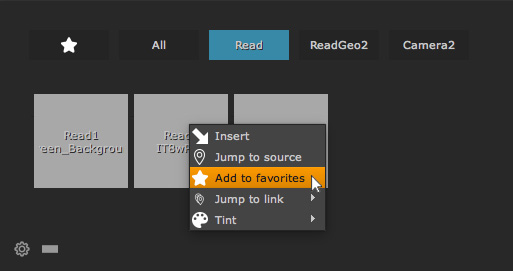
You can also favorite any node that is already included in one of your classes sections. To do so, right click any node and choose Add to favorites.
Removing Favorites
To remove a favorite from the table, simply right click it and choose Remove from favorites.
smartLink proves a self contained cleanup: A node will also be removed from the table if it doesn’t exist anymore inside the node graph.
Navigate to source node
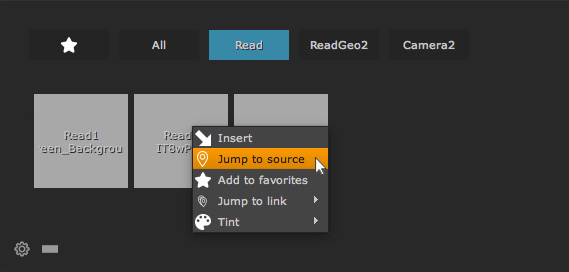
smartLink offers several ways to navigate to your source node.
In the smartLink window hover over a node and choose Jump to Source.
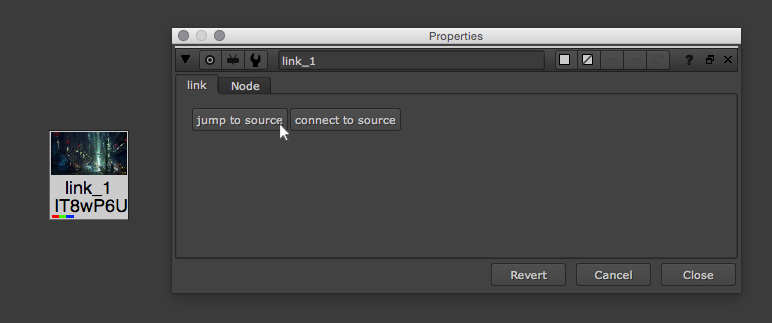
Alternatively, you can double click on of the link nodes, and clicking the jump to source button in the link tab.
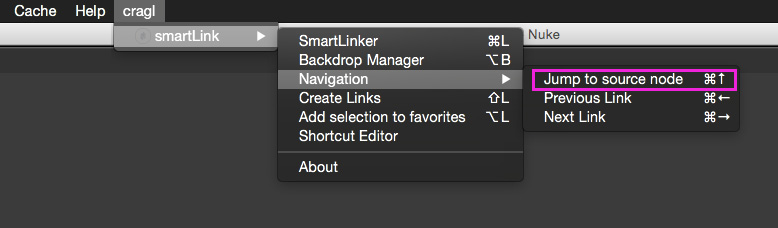
A third way is to select one of the link nodes and choose from the menubar: cragl -> smartLink -> Navigation -> Jump to source node or pressing the shortcut ctrl + Arrow Up (Linux/ Windows) or cmd + Arrow Up (Mac).
Showing all links of a node
You can create as many links for a node as you like. This will have the big advantage that you need to read in your data once and can reference it down the line which keeps your composites flexible.
In order to display all links of any node you have two options:
In the smartLinker hold Alt and click a node. A popup will show up representing all links for that node.
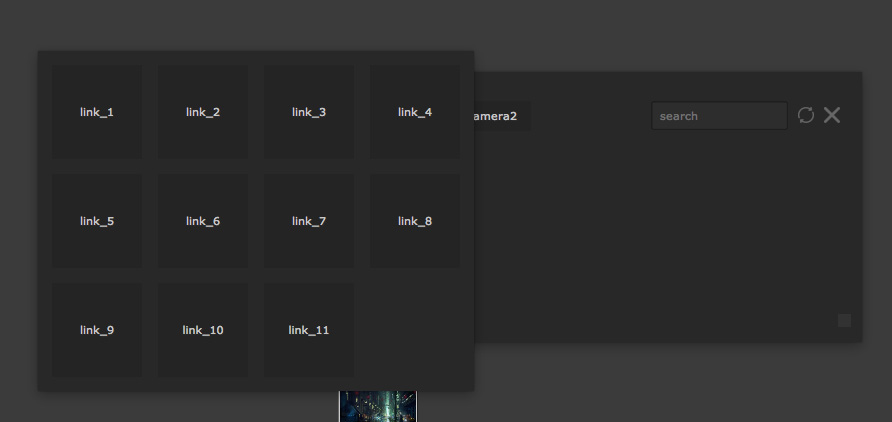
The overview shows all link nodes and their respective link node name. By clicking one of these buttons, you will be navigated to the selected link.
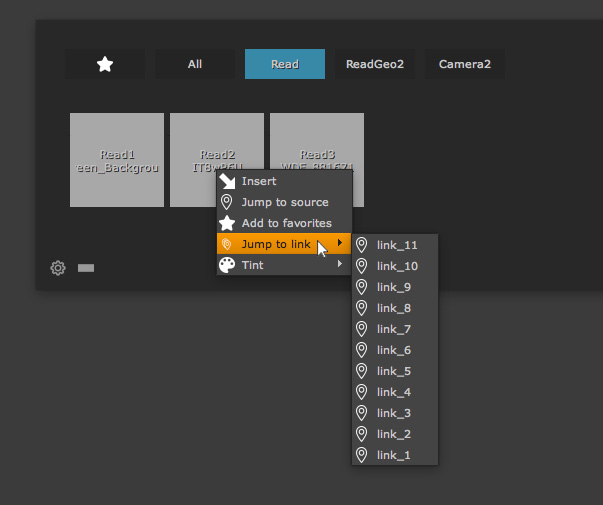
An alternative way of showing all link nodes of any node is to right click it and navigating to the menu Jump to link. In here you can choose a link to jump to.
Searching links
When working in large Nuke scripts, it is not uncommon to have a lot of nodes inside the smartLink table. You can use the search field in the upper right corner to search for nodes. As soon as you type something in, the table will be filtered.
The search will include the node name, the file of the node (if applicable) and the label of the node (if applicable).

Reloading links table
The smartLinker will re evaluate the node graph content once you open it. However, in order to avoid unneeded parallel processing, the smartLinker won’t update its content when it is open and you do some changes. In order to re evaluate it, you can click the reload button at the top right corner.

Tinting nodes
Each node of the links table contains a specific color that gets driven by the color of the source node. This will either be the default node color or the custom color, in case you have set it. smartLink offers the functionality to change the color in the table, the node and all links in one go. This will let you find important nodes easier.
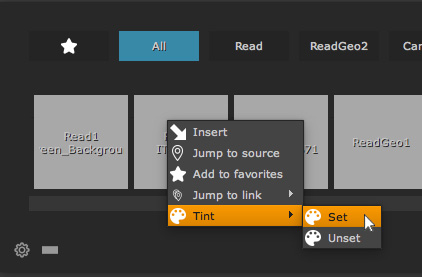
Let’s for instance change the color for our Read2 node.
In order to do so, let’s hover over the Read2 node in the smartLinker table and choose Tint -> Set from the context menu.
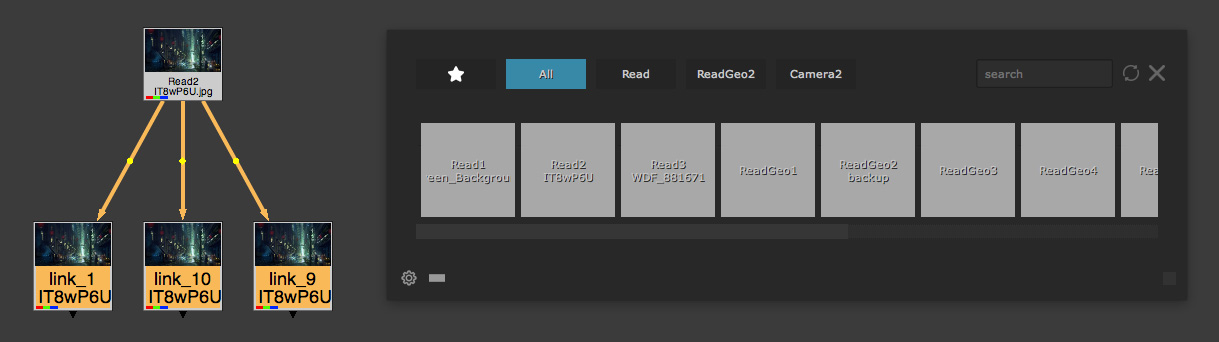
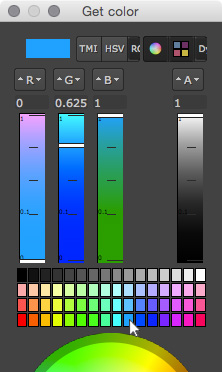
In the upcoming color window, let’s choose a light blue color.
The node in the table, the actual source node, as well as all links will be tinted with our chosen color.
Switching layouts
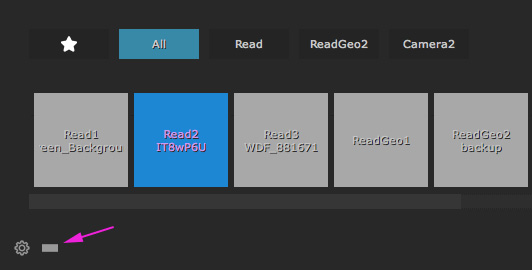
smartLink provides two layouts: a horizontal- and a vertical layout. By default, it uses the horizontal layout. However, you can change the layout to your needs. To do so, simply click the layout button at the bottom left of the smartLinker window.
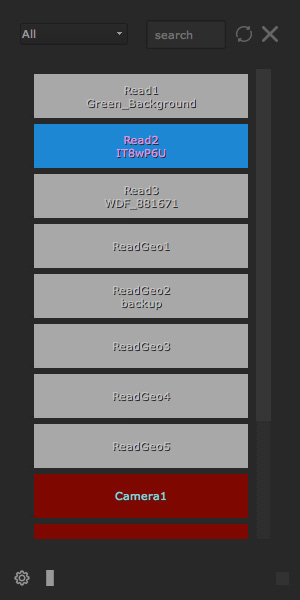
After clicking it, the smartLinker will change to a vertical layout.
Clicking the layout button in the bottom left again will revert back to the horizontal layout. The layout will be remembered, ever after closing the smartLinker, relaunching Nuke and restarting your machine.