Quickstart
The following is a quick tour that shows how to use smartScripter.
Creating stacks
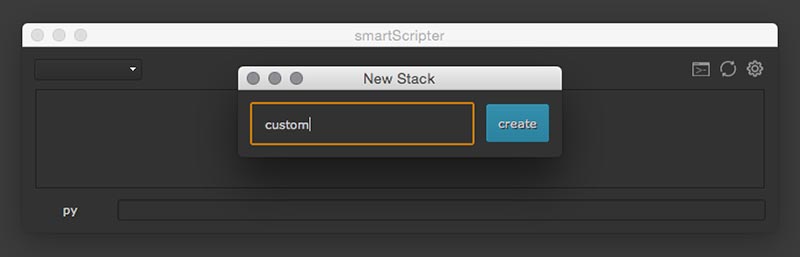
When launching smartScripter for the first time (see also the previous chapter Accessing smartScripter) you will be prompted to create a new stack.

Hold on, what is a stack? A stack is nothing more than a folder that holds all commands. You can create as many stacks as you like. In the up coming prompt, let’s type in the name “custom” and hit enter or click the blue create button.
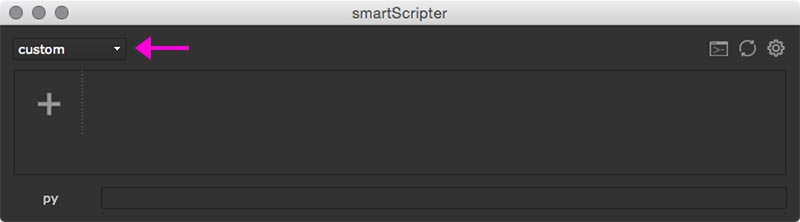
The “custom” stack will be created and selected as seen in the drop down menu at the top left.
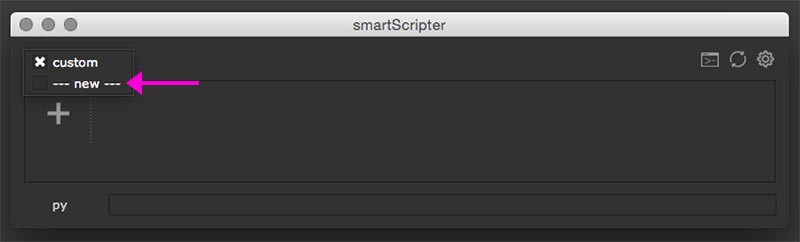
Using the drop down menu at the top left, you can navigate to other stacks and create a new stack by selecting the —new— item at the bottom of the drop down menu.
As we have now created our stack, let’s populate it with commands.
Note
If you want to have more information how to use and organize your stacks, then read here.
Populating stacks
smartScripter lets you populate stacks with commands using Python code, TCL code and Nuke node snippets from your clipboard. Let’s have a look at all these three scenarios.
1) Adding Python commands
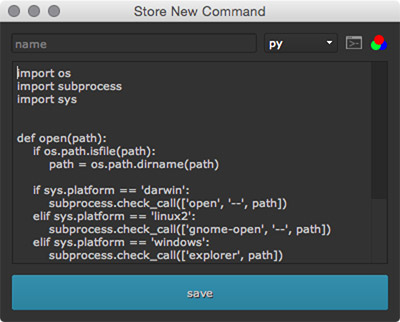
You can add a Python code by simply dragging and dropping your code from your script editor into the smartScripter.
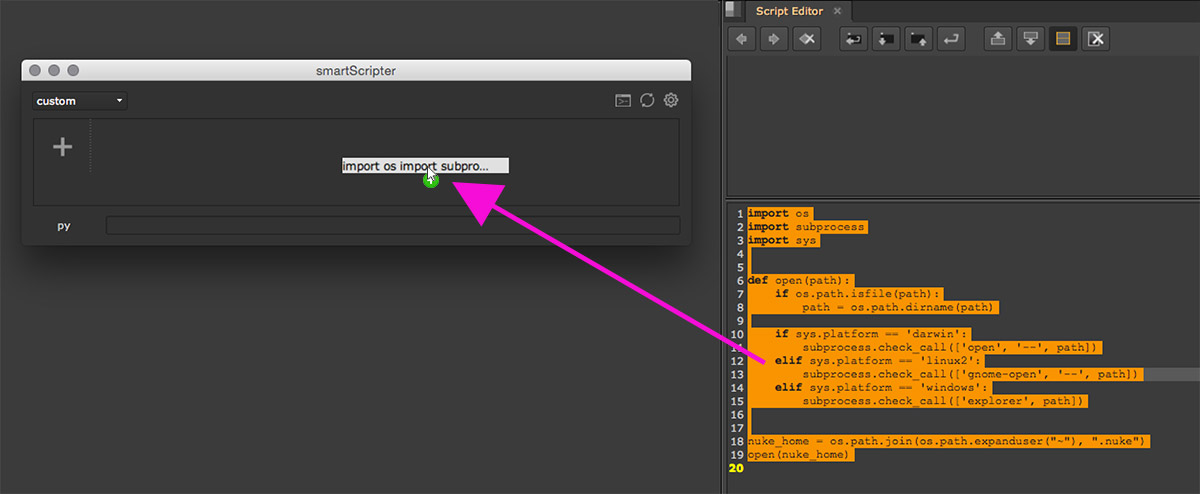
This opens an additional window to store a new command. Your dragged code will be listed in the command text field at the bottom. You can resize the window if required.
At the top, let’s give this command a name, for instance “open home”.
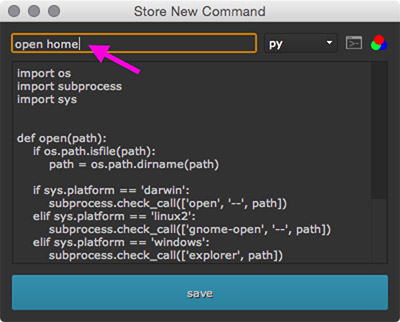
When you are ready, click the blue save button. The command will be created in the smartScripter table.
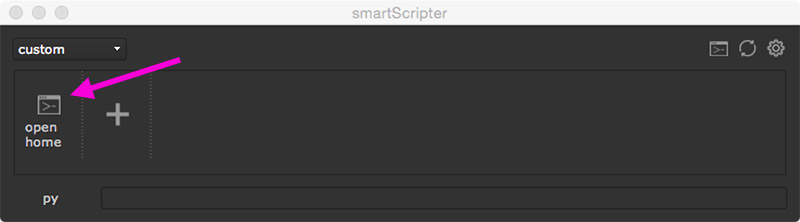
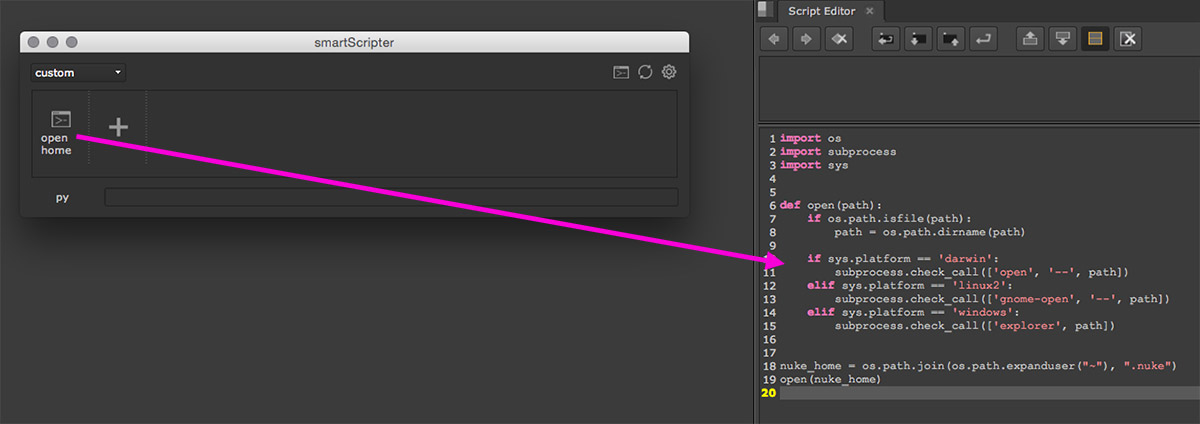
We can now execute this command by simply clicking it. In the meantime, we can remove the content of our script editor in order to work on something different. We can then drag and drop the command back into our script editor. This will paste the content of our command into the script editor so that we can continue working on our script.
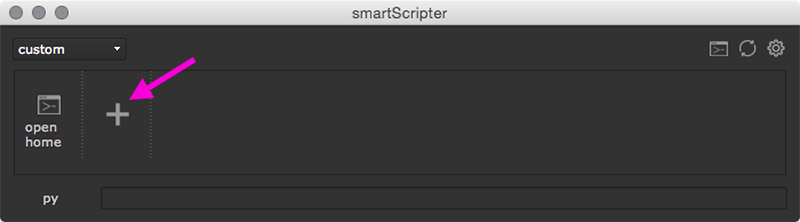
2) Adding TCL commands
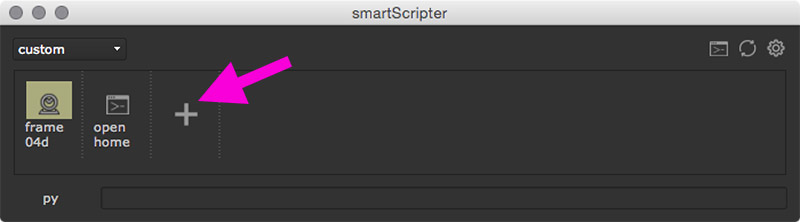
We can also create a TCL command. An alternative of dragging and dropping a command into the smartScripter, as we have seen in the previous section, is to simply clicking the plus button in the smartScripter’s commands table.
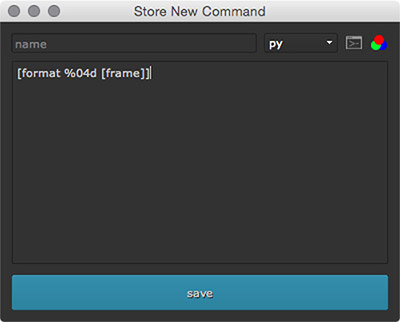
This opens the Store New Command window which will look like the screenshot
below showing. Besides storing commands, why not use smartScripter to store
little TCL snippets that are difficult to remember. Let’s create a frame
counter using a file sequence number of 4 using TCL for our Text nodes. This is
useful for burnin information. In order to achieve this, we can use the
following command: [format %04d [frame]]. Let’s add this command into the
text field as seen in the screenshot:
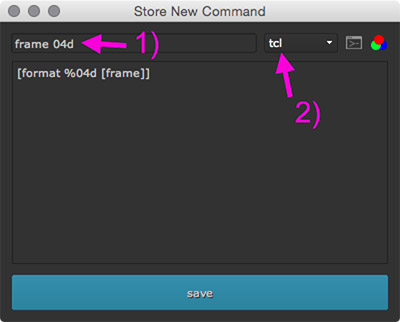
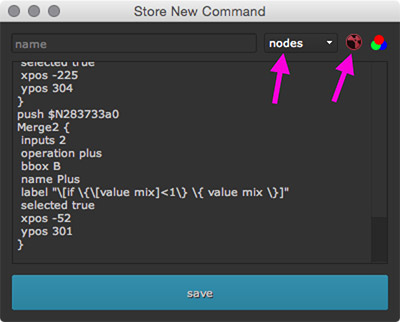
Next, let’s add a name. Let’s call it frame 04d. If this was a TCL command that we wanted to execute by clicking it as seen before with our last command, we need to tell smartScripter to execute this command as a TCL command. We can do so by setting the language from py to tcl.
At the right hand side of the language drop down menu, we find another button. Clicking it opens a window that lets us choose an icon for our command. This window shows all png icons that are located in our Nuke plugin paths. If we like, we can choose an icon from here to customize our command. Next to the icon button, there is yet another button that lets us choose a color. Let’s click this button. In the up coming window let’s chose a light brown.
Our Store New Command window should now look like the following:
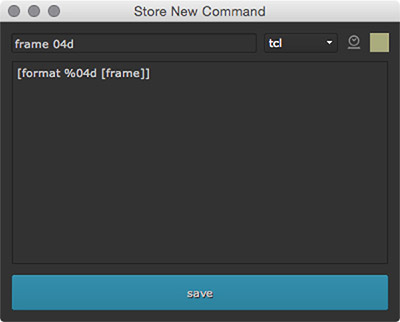
To recap, here we have set the following:
- We have added a name.
- We have set our TCL expression snippet.
- We have set our command language to ‘tcl’ (optional).
- We have assigned a custom icon (optional).
- We have assigned a custom color (optional).
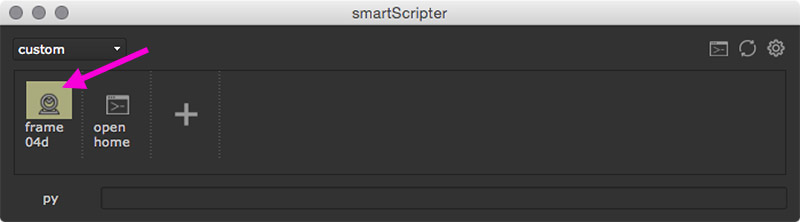
After clicking the blue save button, the frame 04d command will be added into our smartScripter window.
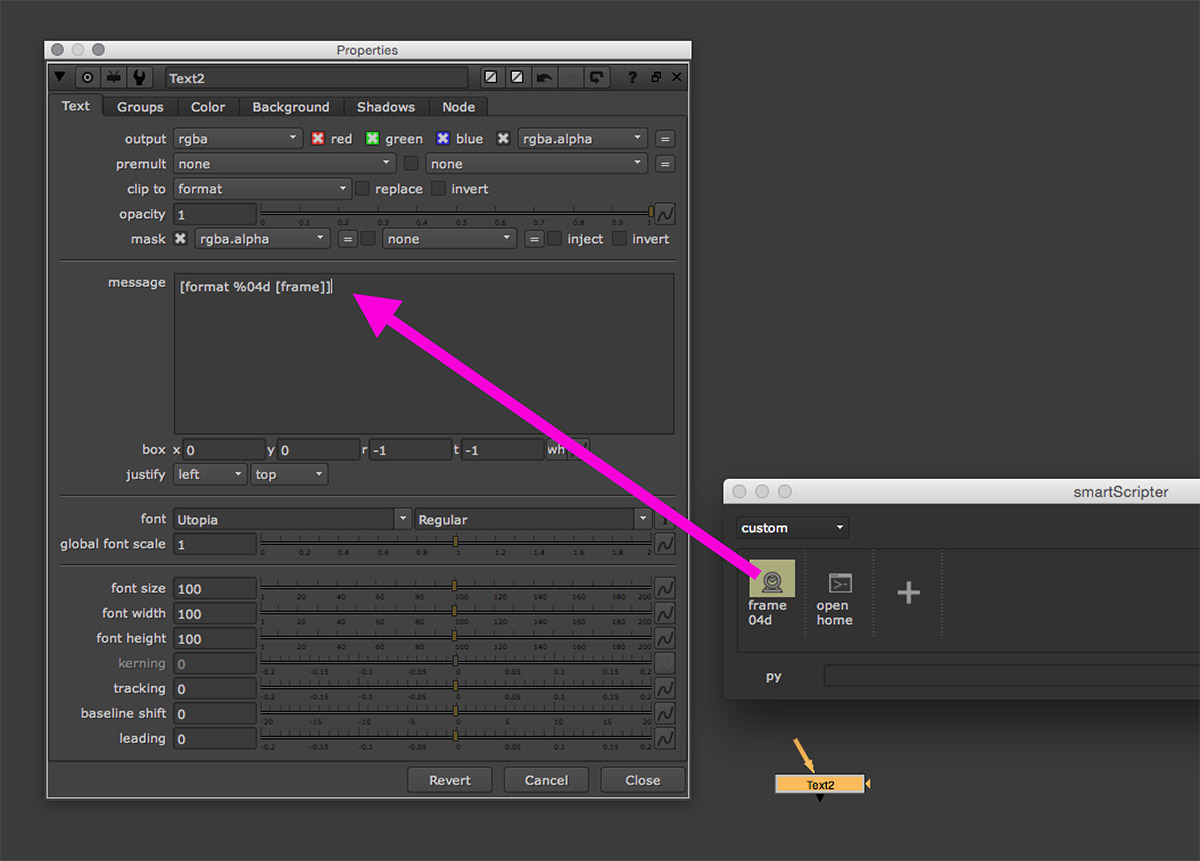
Let’s now use our TCL expression snippet. Let’s create a Text node. We can now simply apply our TCL expression to the text node by dragging and dropping the frame 04d command into the Text node’s message knob.
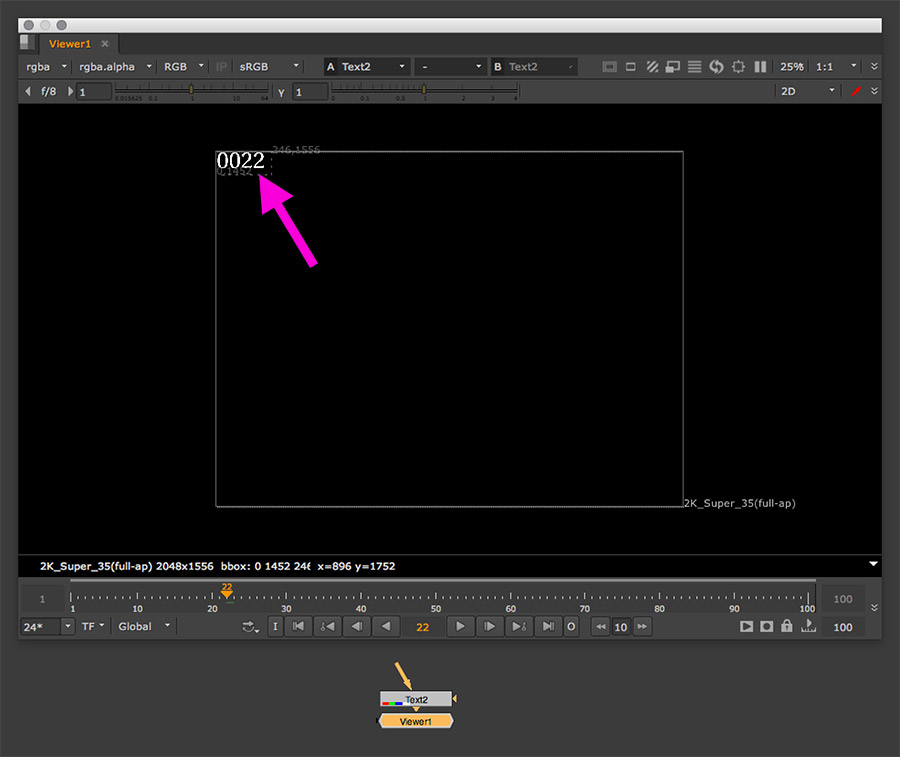
The result is a frame counter using a 4 padded file sequence number as seen below:
3) Adding nodes from the clipboard
smartScripter lets us also store node snippets so that we can quickly test multiple setups and share these snippets with our fellow artists.
Let’s add some nodes to smartScripter.
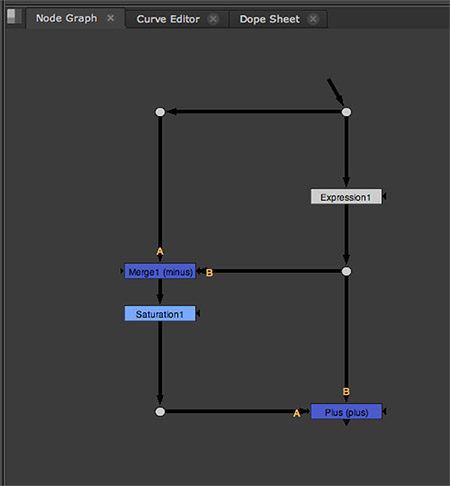
This node setup is a custom despill toolset that we would like to use in other working files as well. Let’s select all nodes of our despill toolset and copy them to our clipboard using Ctrl + C (Linux / Windows) or Cmd + C (Mac).
Let’s now click the Plus button in the smartScripter.
Let’s paste the nodes into the command text field. Notice, that smartScripter has automatically detected that this is a node setup by setting the command language to nodes as well as setting the icon to a nuke icon. You can change the icon afterwards if needed.
Let’s enter the name despill and click the blue save button. The nodes command was added to our smartScripter window.
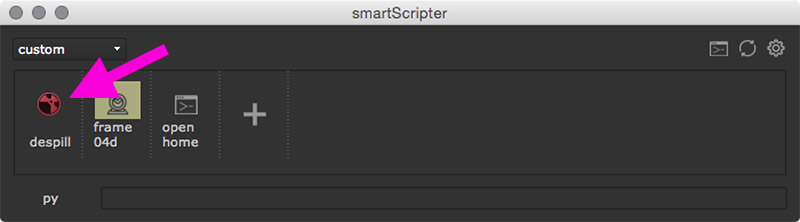
We can now insert the toolset in our node graph by simply clicking the despill command in the smartScripter or by dragging and dropping the command into the node graph.
Note
Other artists can point to the same stacks root directory and this will enable them to access the despill nodes command as well as all other commands too. This enables collaborating among artists and lets us create a creative pool of commands and node setups. For more information about a collaborative workflow like this, please have a look at the Collaboration section.
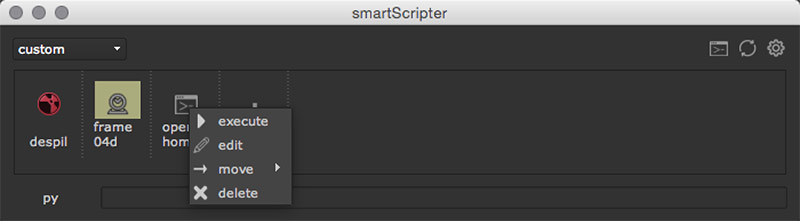
The command’s right click menu
Each command has a right click menu that lets you execute the command, edit it, move it to another stack and delete it. For more information about these functions, please have a look at the commands right click menu section.
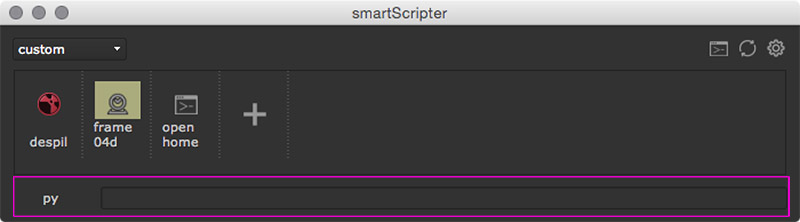
Quick Command
smartScripter contains a quick command prompt at the bottom of its window. Clicking the py button at the bottom left switches the execution of the command prompt to TCL. Clicking it again switches back to Python code execution. Each successfully executed command gets stored in the history. Using the up and down arrows while being in the quick command input field lets you cycle your command history. For more information about the quick command, please have a look at the quick command section.
Launching the settings
Clicking the settings button at the top right reveals the settings section that lets you customize smartScripter to your needs.
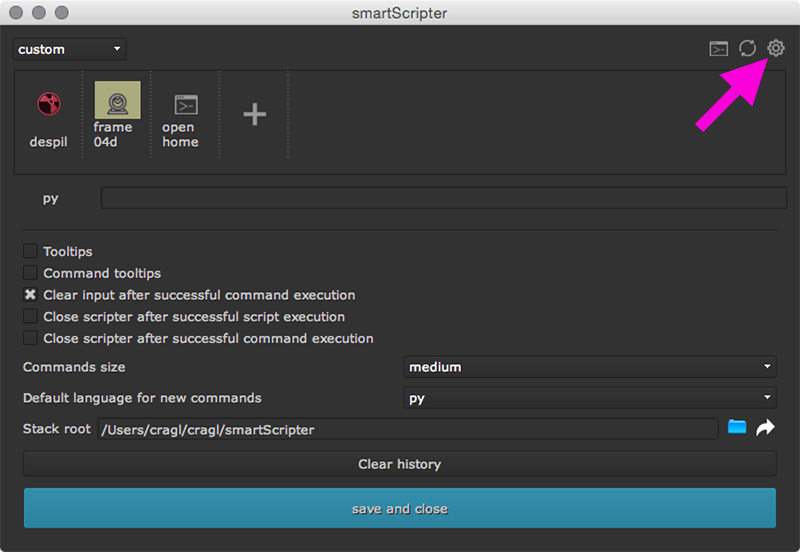
In here you can set the behaviour of smartScripter after executing commands, toggle the visibility of tooltips, set the commands icon sizes, set the stack root directory and do a lot more. For more information about the settings section and customizing smartScripter, please have a look at the settings section.