AI Generator
smartElements offers an AI generator that lets you generate AI videos and images. In order to generate genAI output you will need a running internet connection and a replicate token for authentication.
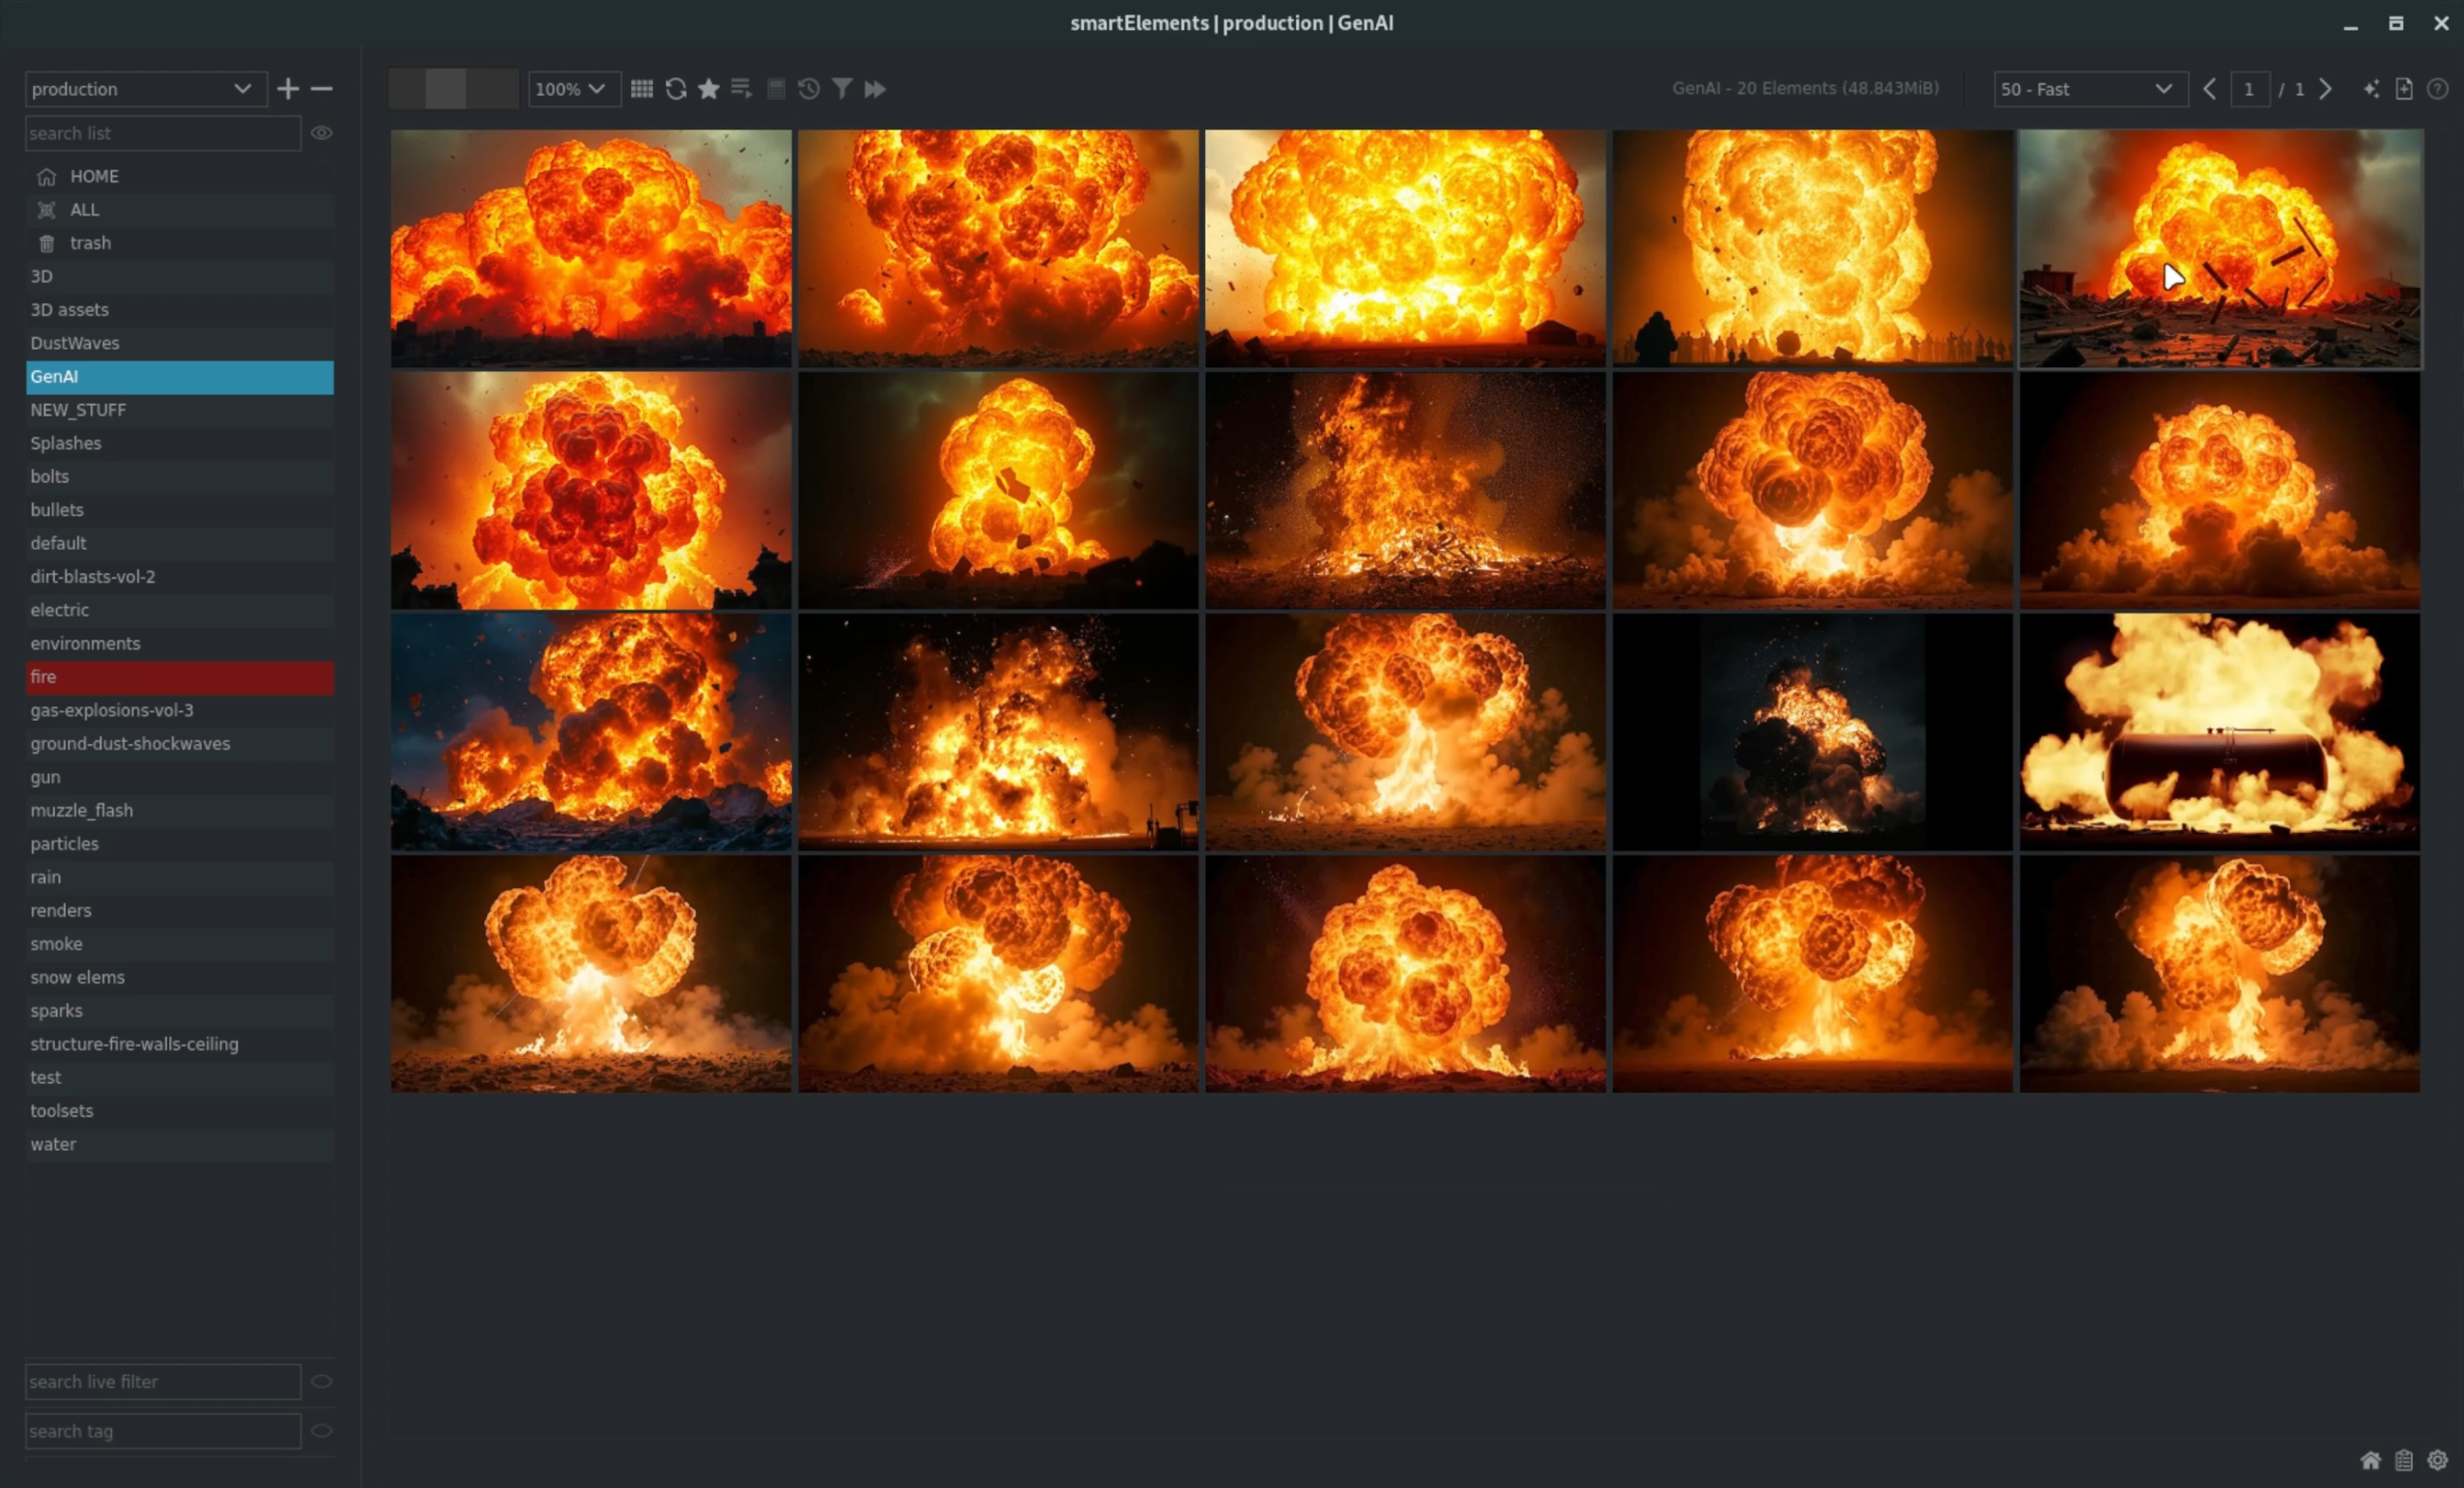
The following shows you a quick overview how to use genAI inside smartElements to generate your own elements. Let’s generate some fire and explosion videos and images.
Launching the AI generator
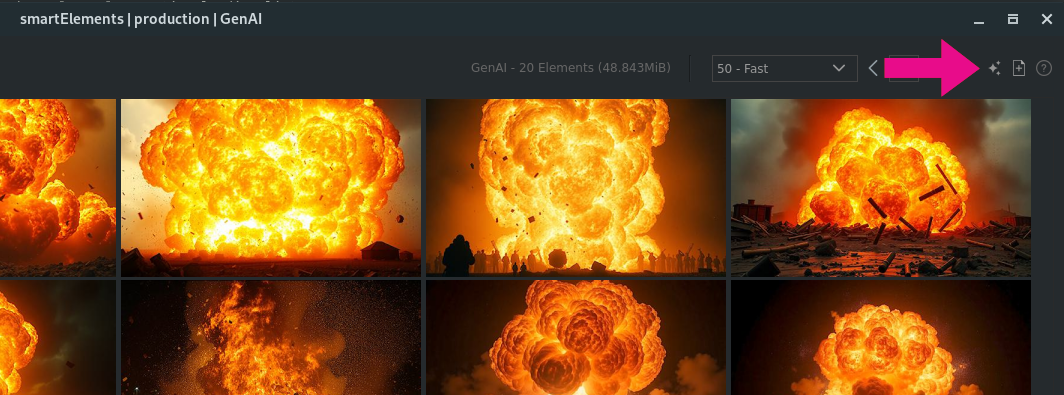
You can launch the AI generator Inside smartElements using the AI generator button which you can find on the top right:
The AI generator launches:
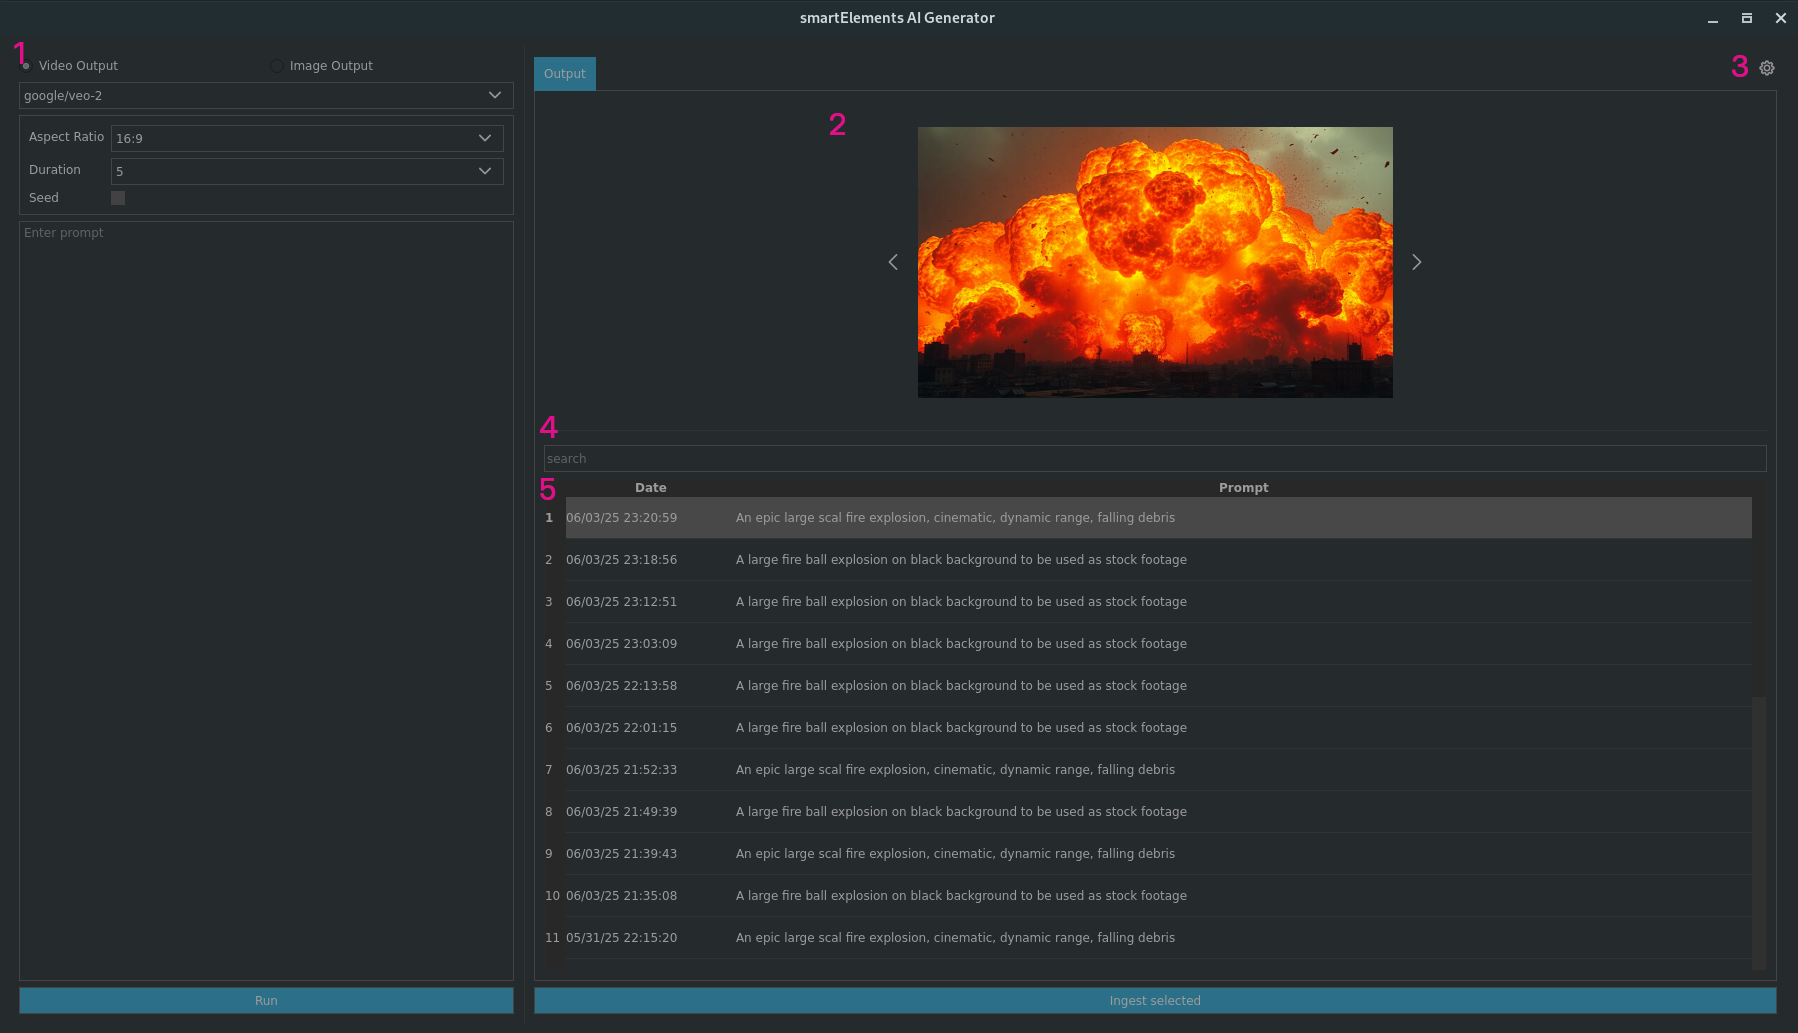
It contains the following sections:
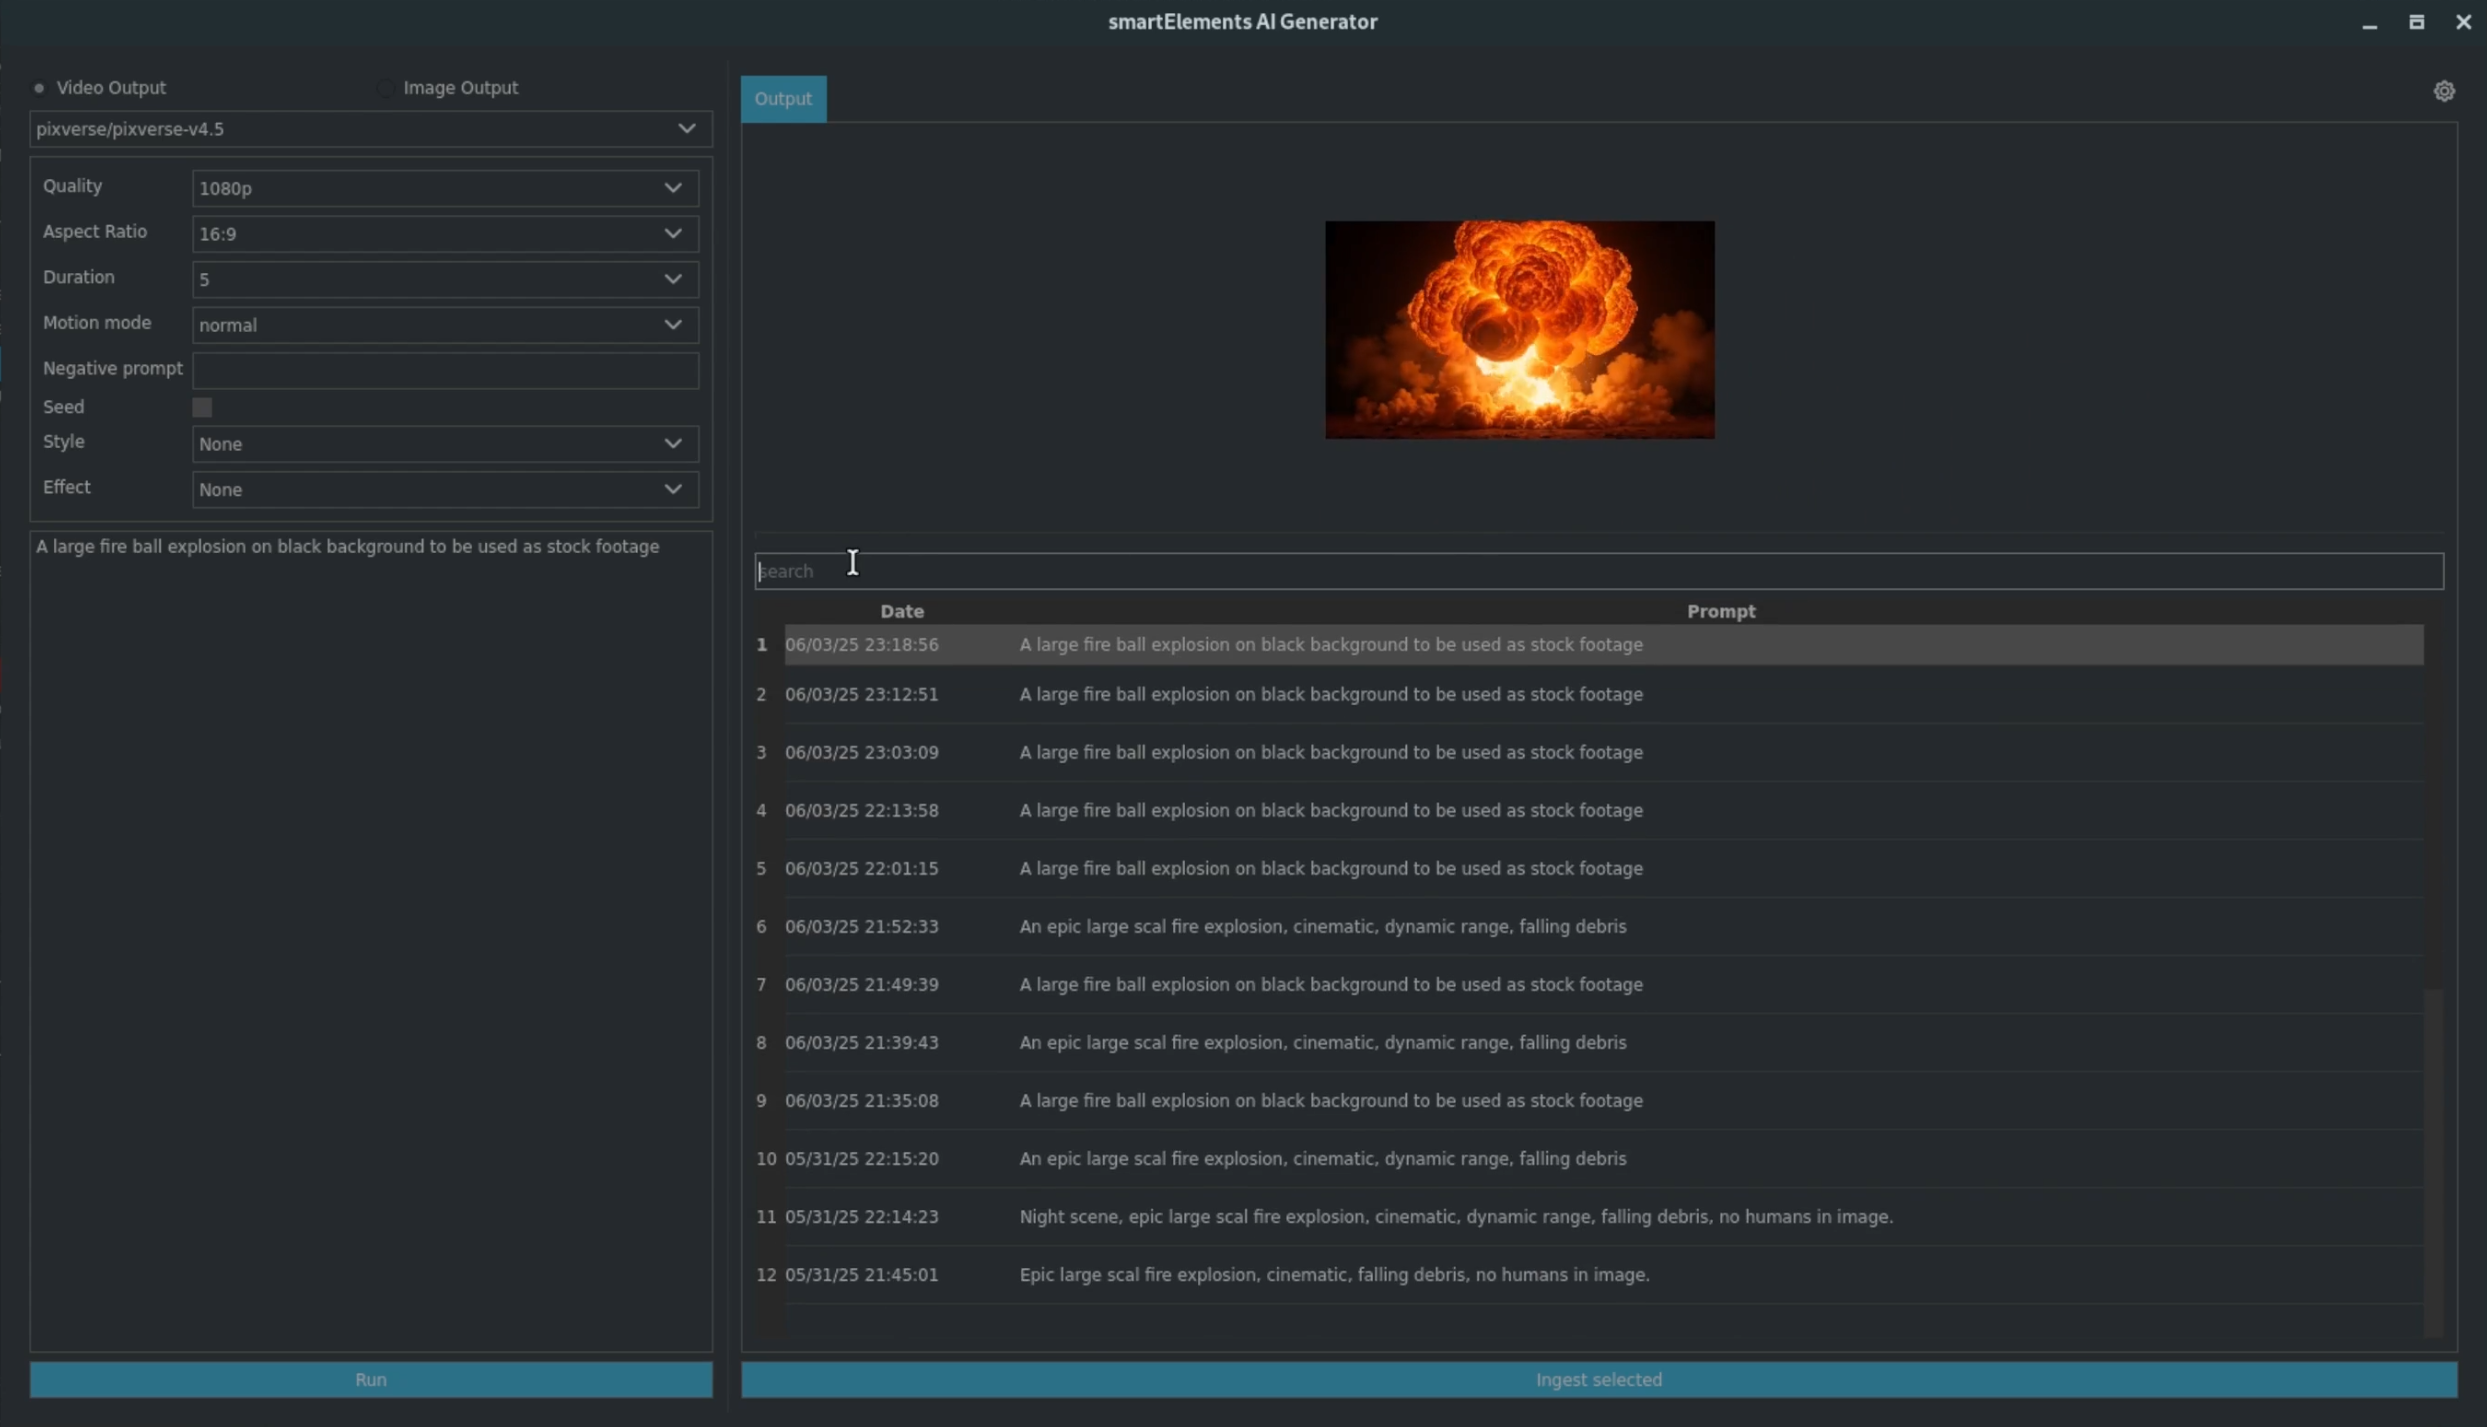
1) AI form: Here you edit all details for the output to be generated. You can switch between video and image models and set up all options and enter a prompt. When you are ready click the blue Run button at the bottom to generate a new output.
2) Output: Here you can view the generated output. This section can show video and image outputs. Some models like flux schnell are able to generate multiple outputs which you can also cycle through here as well.
3) Settings: Click here for updating the AI generator’s settings.
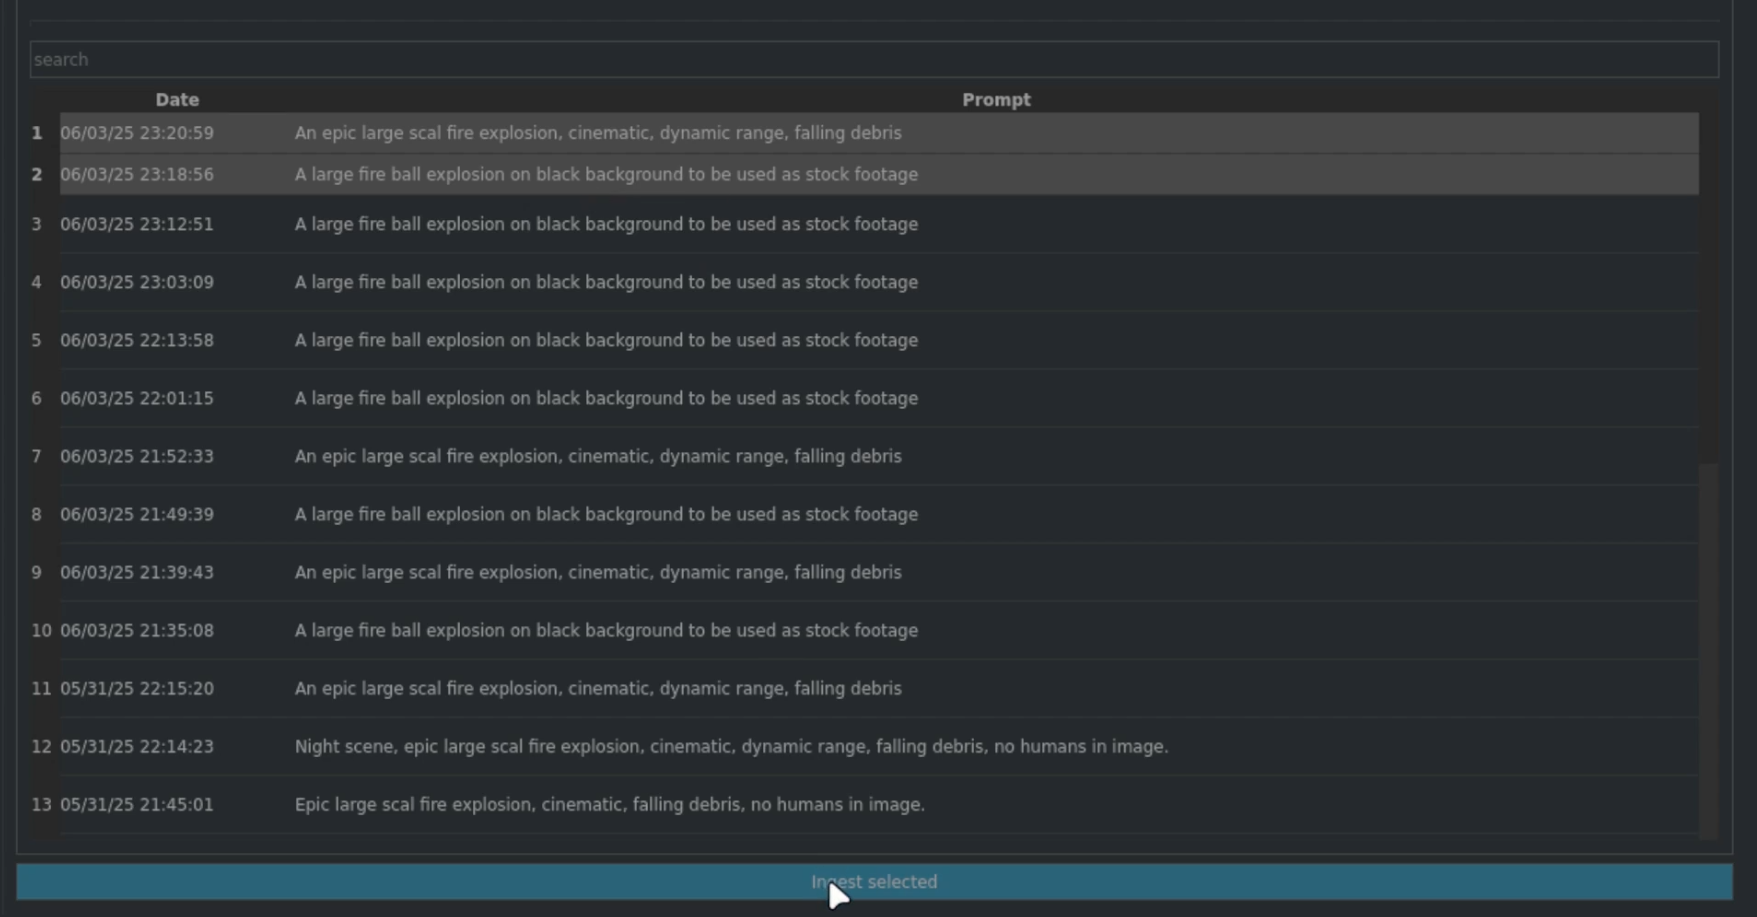
4) Search: Here you can filter outputs by used words in the prompts.
5) Output table: Here you see all generated outputs. The newest outputs are listed top, the oldest at the bottom.
Setting up an API token
Before you can generate new outputs, you need to set up a replicate account and generate a token. A token is necessary to use replicate’s services and so that it can identify you. For that, click the settings button (3) at the top right as also seen in the previous image. The settings section shows up:

The settings contains the following sections:
1) API token: Here you can set the replicate API token. This works like a password and lets replicate identify you.
2) Output root directory: The root directory where all GenAI outputs are downloaded to. By default, it points to the smartElements folder in your home directory. Change this if needed to another root directory.
Click the Browse API tokens button to reach replicate’s website. Here you can create a new account. Once you have set it up and entered your credit card details, hover over the ‘Default’ token (or create a new token if you like) and copy its value to your clipboard. In the settings you can then paste it.
Click the Save settings button at the bottom to apply the changes.
Generating new outputs
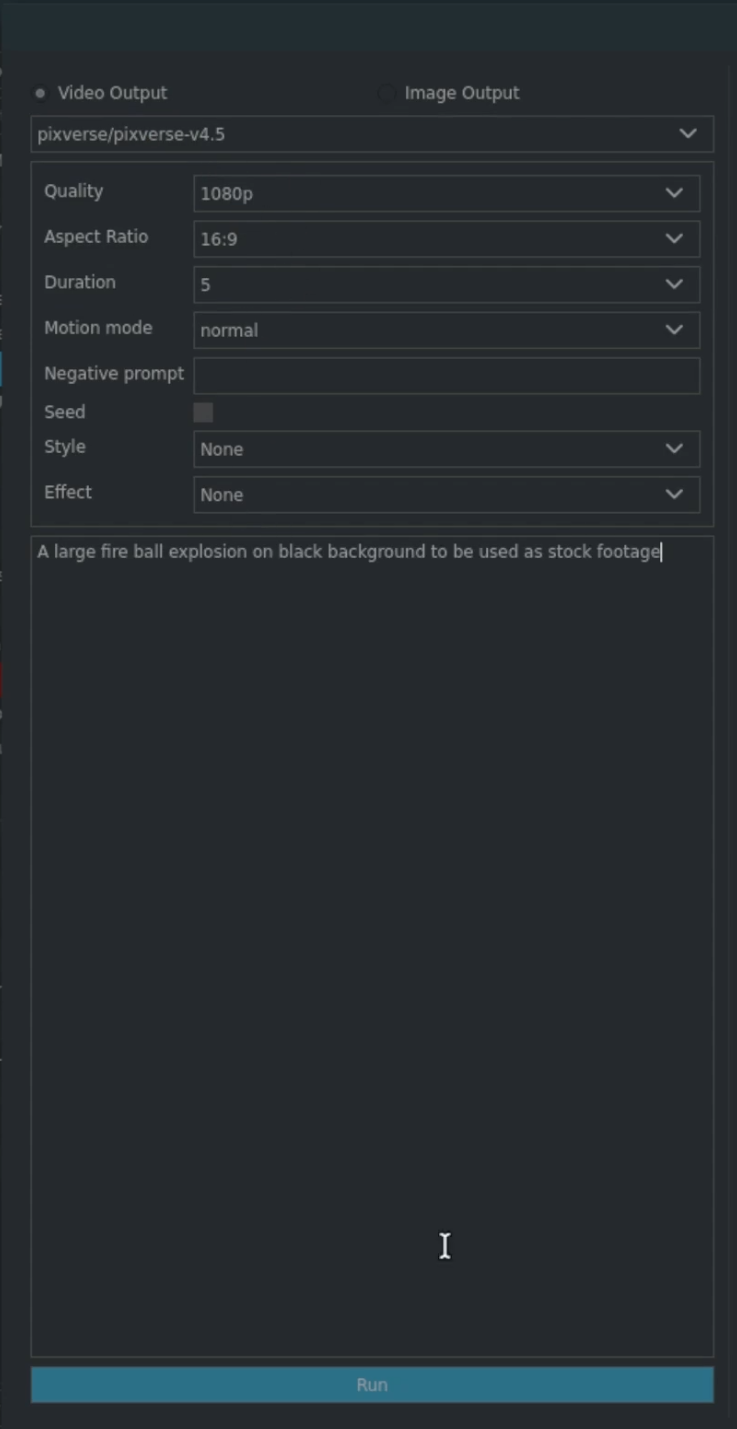
The left section lets you enter your prompt and edit all other options the currently selected model offers. The offered options change depending on the currently selected model.
smartElements offers the following video and image models, which we will extend in the future.
- Video models:
google/veo-2
pixverse/pixverse-v4.5
- Image models:
black-forest-labs/flux-1.1-pro-ultra
black-forest-labs/flux-1.1-pro
black-forest-labs/flux-schnell
When you have set up your prompt and model options to your needs, click the Run button. This will kick off a new output generation. Depending on the chosen model and and its output type, this might take a few seconds. Once done, you can view it in the output section on the right:
Right click any item in the output table:

The context menu contains the following options:
1) Reveal: Reveal the output in your explorer.
2) Tweak it: Set up the left section with the exact options + prompt that were used to generate that selected output. This is useful if you want to get back to a particular output setting and either tweak it or create variants from it.
3) Delete: Click to delete the output and all its metadata. Please note: There is no undo.
Ingesting outputs
In order to use the elements in your working file, you need to ingest these to bring them to smartElements. You can send them to ingestion directly from the AI generator. Simply select the outputs that you want to ingest and click the Ingest selected button at the bottom.
The ingestion matrix launches. Set the list(s) to ingest to and adjust other things to your needs, like tags and the transcoding processor, etc. For more information on the ingestion matrix please have a look at the ingestion section.
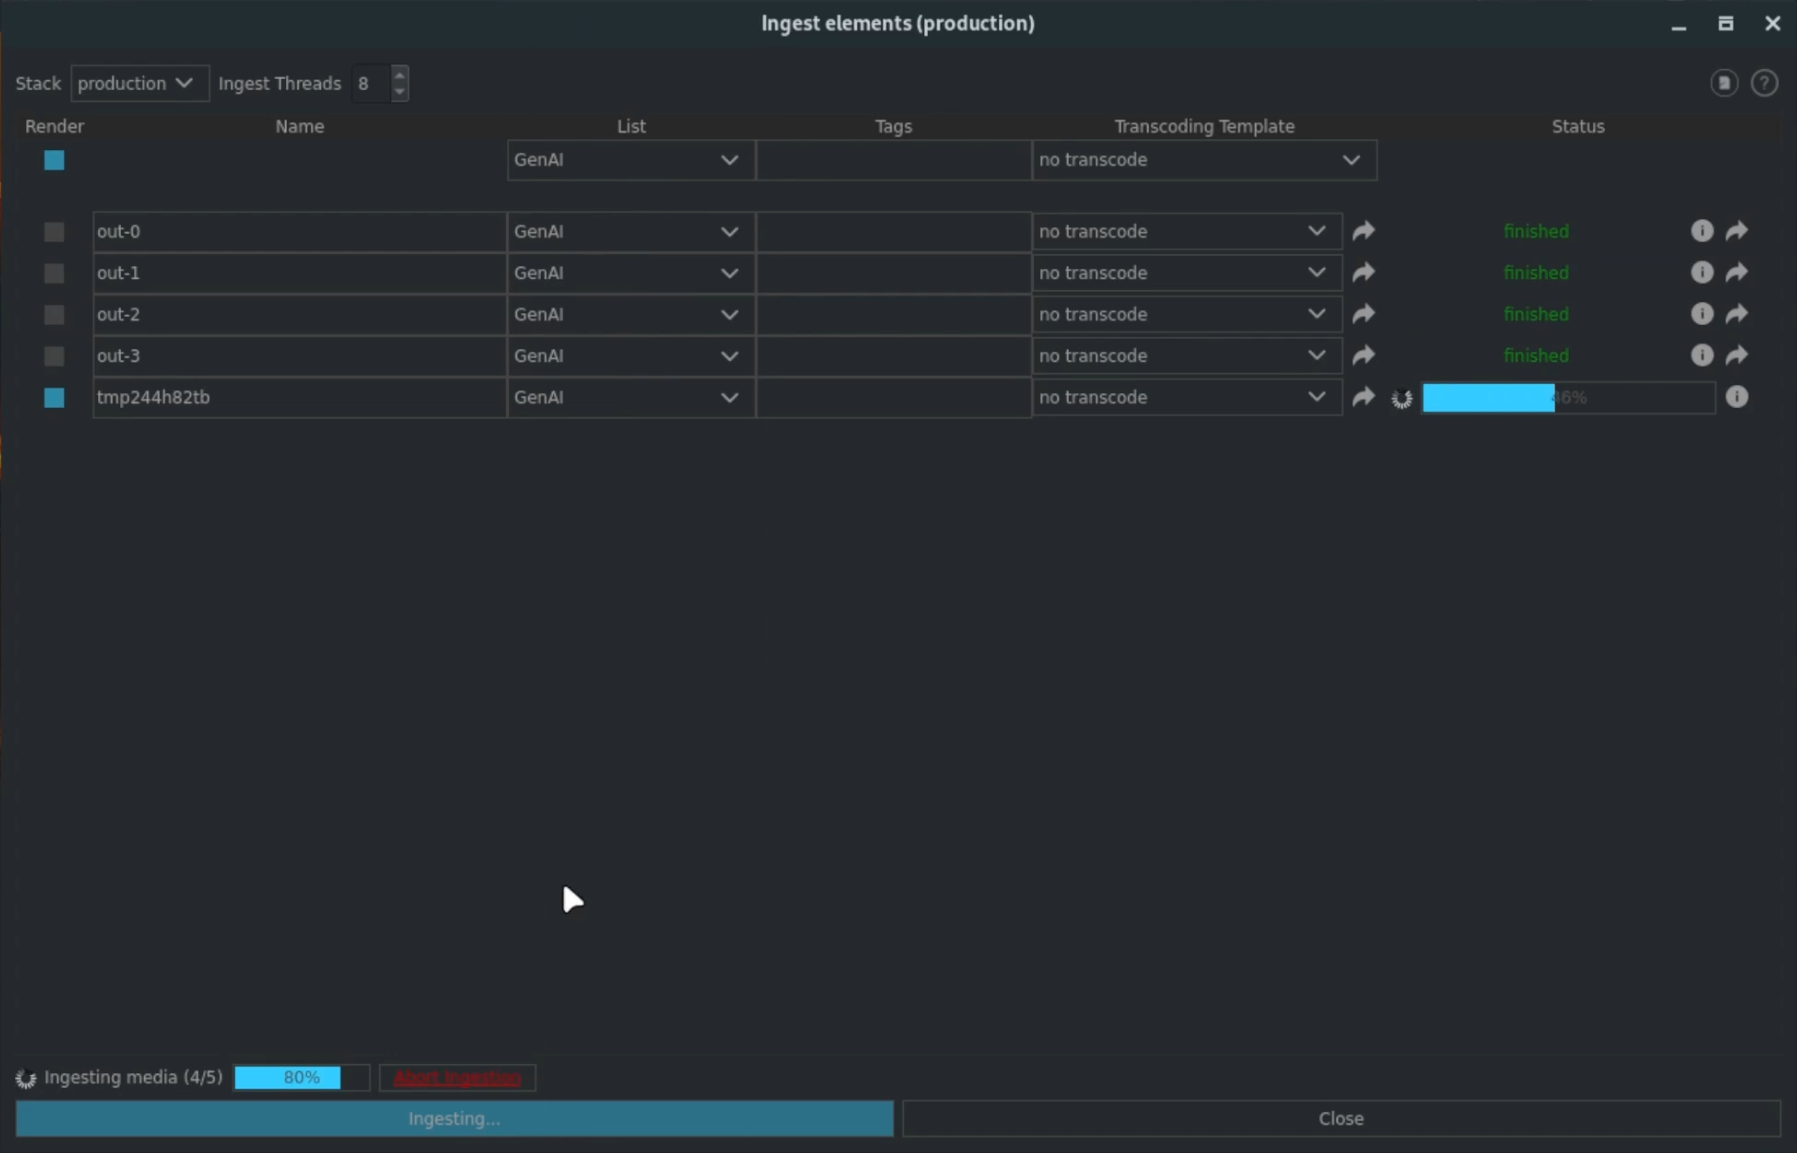
Once the ingestion is done, click the reveal button. This navigates you directly to the ingested output which is then ready to be used.