The smartRender window
To open the smartRender window navigate to NUKE’s menubar and choose
cragl->smartRender->render. The shortcut is cmd + R (mac) and
ctrl + R (linux + windows).
The smartRender main window contains three sections:
The presets section
The output section
The log section
To navigate between the different sections you can use the tabs at the top left to enter the presets- and the output section and the job history button at the top right to enter the log section. You can also press the L-key to toggle the job history. The state of the currently selected tab from the left will be saved even after closing the smartRender window, exiting NUKE and shutting down your computer.

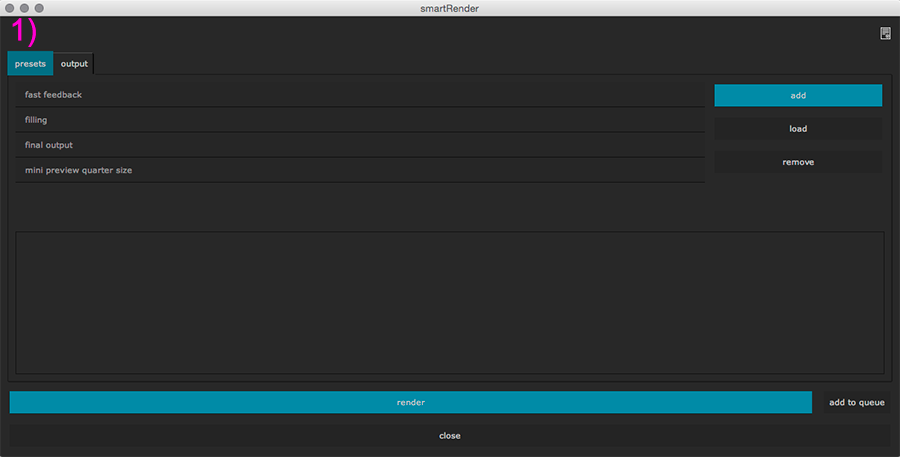
1) Click to change to the presets section.
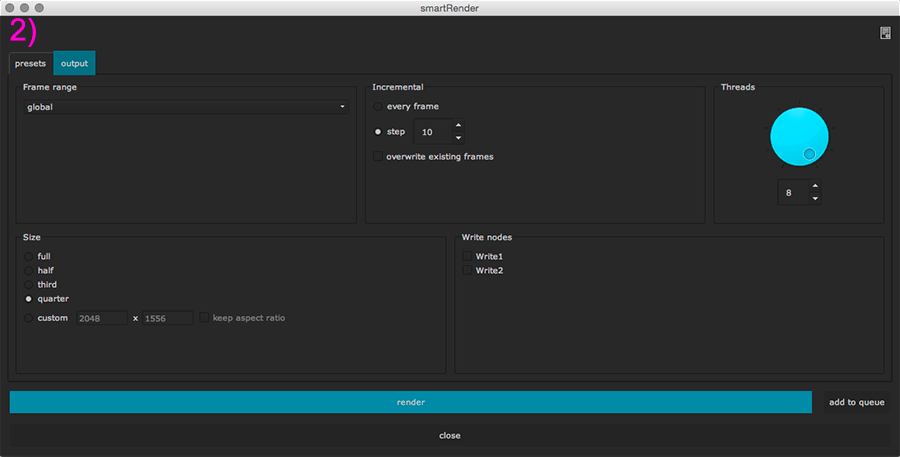
2) Click to change to the output section.
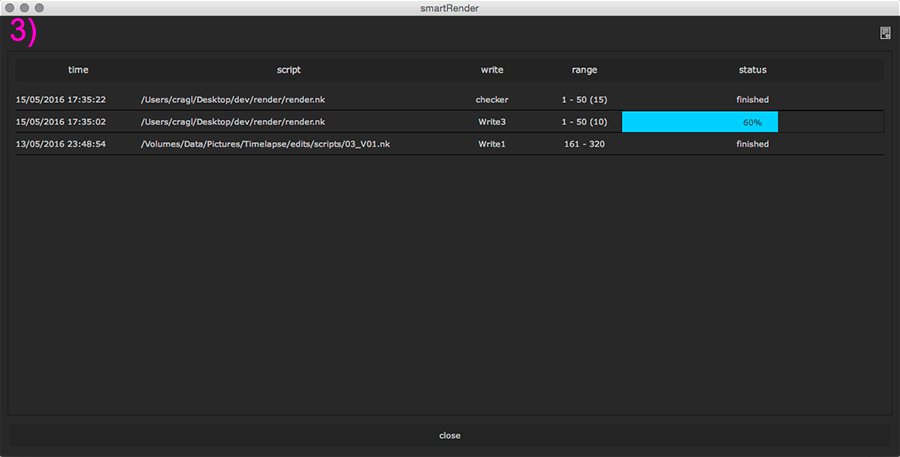
3) Click to change to the job history section. Can also be toggled by using the L key.
If you click one of the tabs/buttons the corresponding section will appear:
The presets section
Further information about the presets section can be found in the the presets section.
The output section
Further information about the out section can be found in the the output section.
The job history section
Further information about the presets section can be found in the the job history section.